Hello friend!
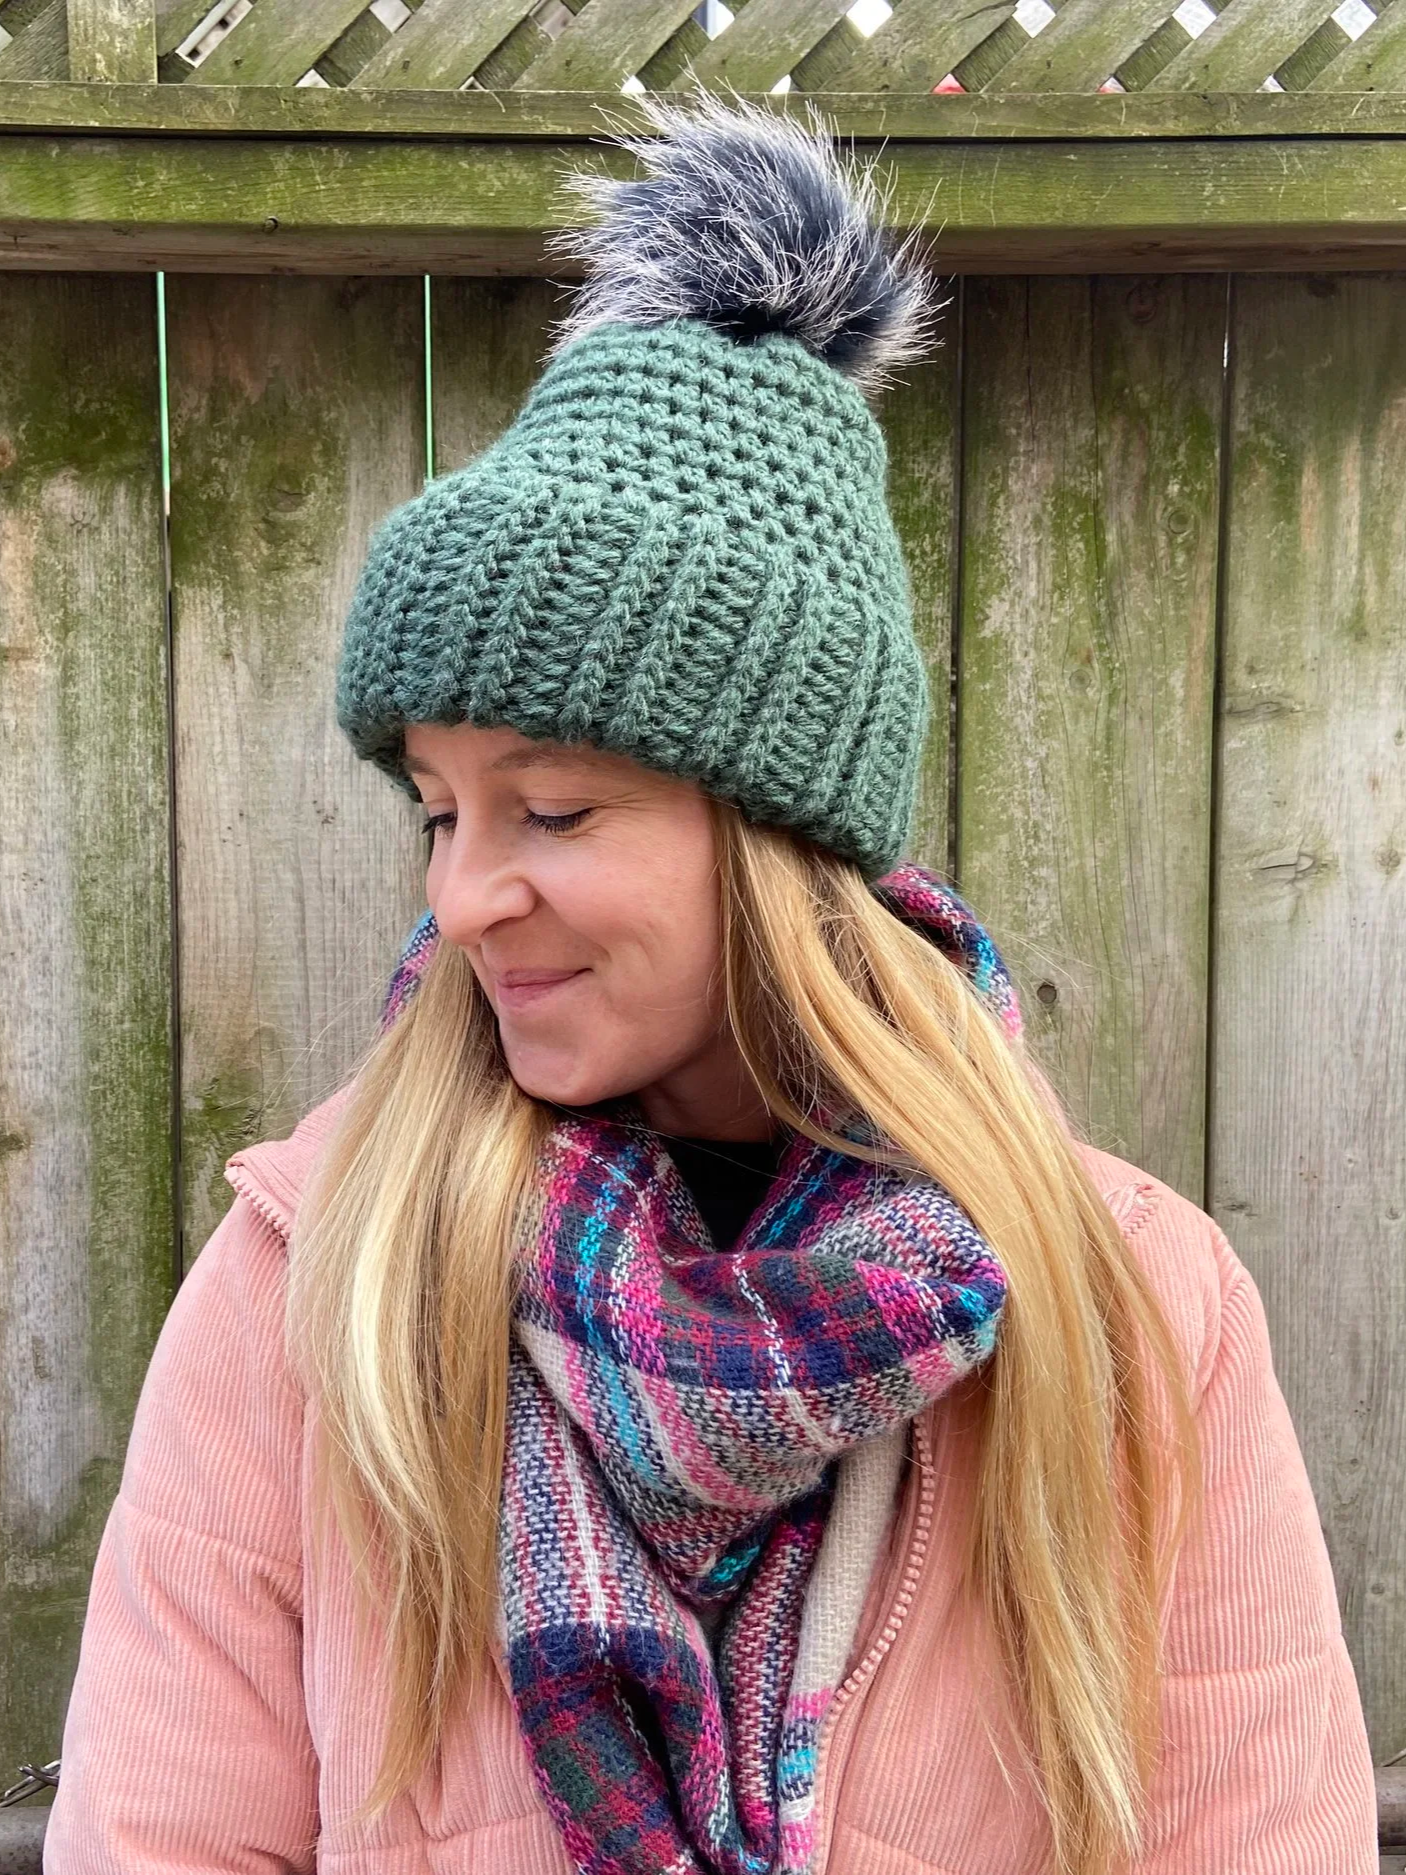
It’s time for another freebie to close out our holiday free pattern celebration - meet the Beckett Beanie. This pattern is great for a beginner who might be ready to try out a new skill or two, like working back loop only ribbing or working stitches into the sides of rows.
I actually made my first sample of Beckett over a year ago and then never had the time last winter to write up & release the pattern - so here it finally is!
If you’re looking for a smoother, ad-free version of this pattern, it is available in my shop & Ravelry store here:
https://www.ilovetinderbox.com/shop/beckett-beanie
https://www.ravelry.com/patterns/library/beckett-beanie-3
If you have any questions about this pattern please email me at: courtney@ilovetinderbox.com as comments on this post and DMs on social media may get missed!
Want to know when I release new (& free) patterns? Sign up for my email list here.
This pattern is also available as a free video tutorial over on my YouTube channel, if video is more of a helpful medium for you check it out here.
This was my first time using Lion Brand’s Hue & Me yarn, and it will not be my last! I love the colour selection, the softness and durability of the yarn, and of course, the price point! Click here to scoop up some Hue & Me for your Beckett Beanie.
Not sure what yarn you want to use? My top three rules are that it must fit your budget, you must like the feel of it against your skin and it MUST be the same weight as the pattern - in this case bulky! Want to know everything I suggest when it comes to choosing yarn for crochet wearables? Check out my blog post all about it here.
Now let’s make Beckett!
Sizes
Your Head Circumference:
• S: 19.5-20.5 inches (49.5-52 cm)
• M: 21-22 inches (53.5-56 cm)
• L: 22.5-23.5 inches (57-59.5 cm)
Sizes are noted as S(M, L) throughout the pattern. To choose your size, select the size that corresponds to your head circumference at the place where you would like the brim of the hat to sit. Sample is size medium on a 22 inch/56 cm circumference head.
Materials
• 6 mm crochet hook
• Approximately the following amount of bulky weight yarn: S: 140m (155y), M: 155m (170y), L: 180m (195y). Sample uses Lion Brand Hue & Me in the colour Night Forest.
• Pom pom (optional)
• Measuring tape or gauge square
• Yarn needle
• Scissors

Gauge
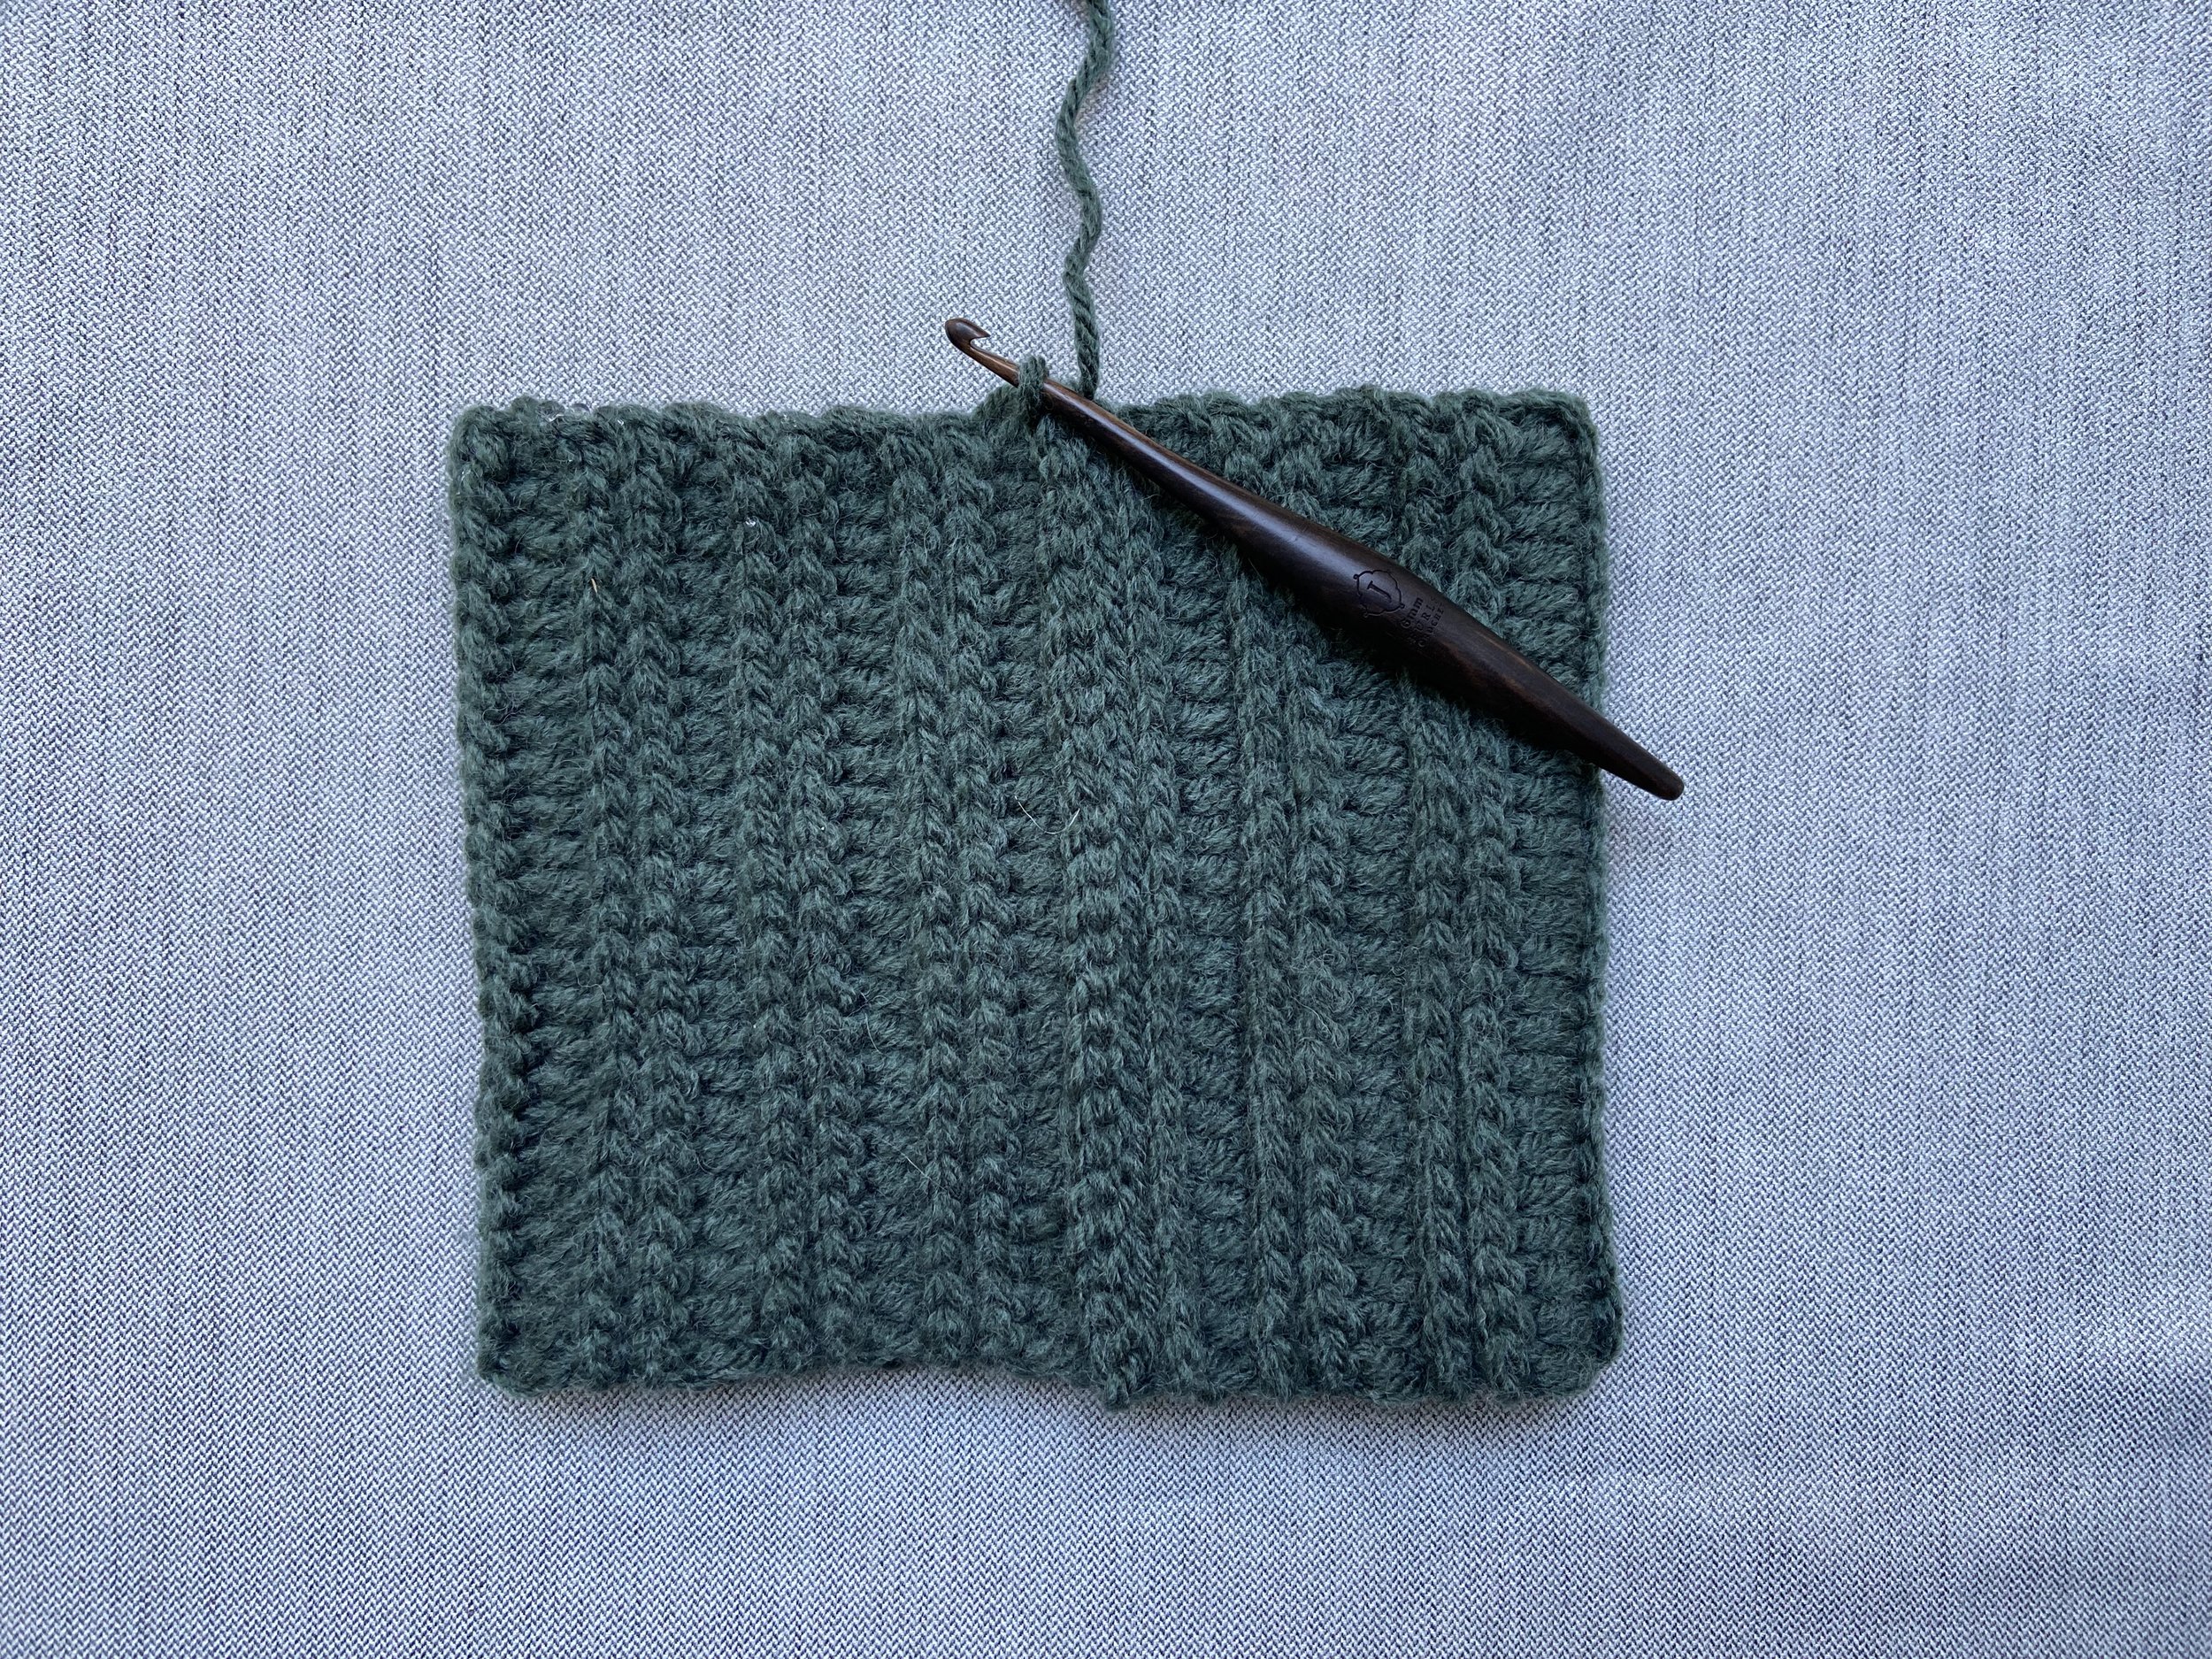
• Brim: 12 stitches x 12 rows in a blocked 4 inch (10 cm) square of 1 row of HDC BLO & 3 rows of SL ST BLO, worked flat
• Crown: 8 stitches x 7 rounds in a blocked 4 inch (10 cm) square of HDC, worked in the round (not sure how to gauge in the round? No problem - here’s how!)
Legend
CH: Chain
BLO: Back loops only
HDC: Half double crochet
rep: Repeat
SC: Single crochet
SL ST: Slip stitch
ST(s): Stitch(es)
<Stitch counts> are only listed when they change throughout the pattern!
Brim
Row 1
With hook used to obtain brim gauge, CH 26, turn. HDC into the back bump of the 3rd CH from hook and each CH across. <24>
Row 2
CH 1, turn. SL ST BLO across.
Rows 3 & 4
Rep Row 2 twice.
Row 5
CH 2, turn. HDC BLO across.
Rows 6 to 51(55, 59)
Rep Rows 2 through 5 until you reach the row count for your size. You will end on a rep of Row 3.
Seaming Brim
Row 52(56, 60)
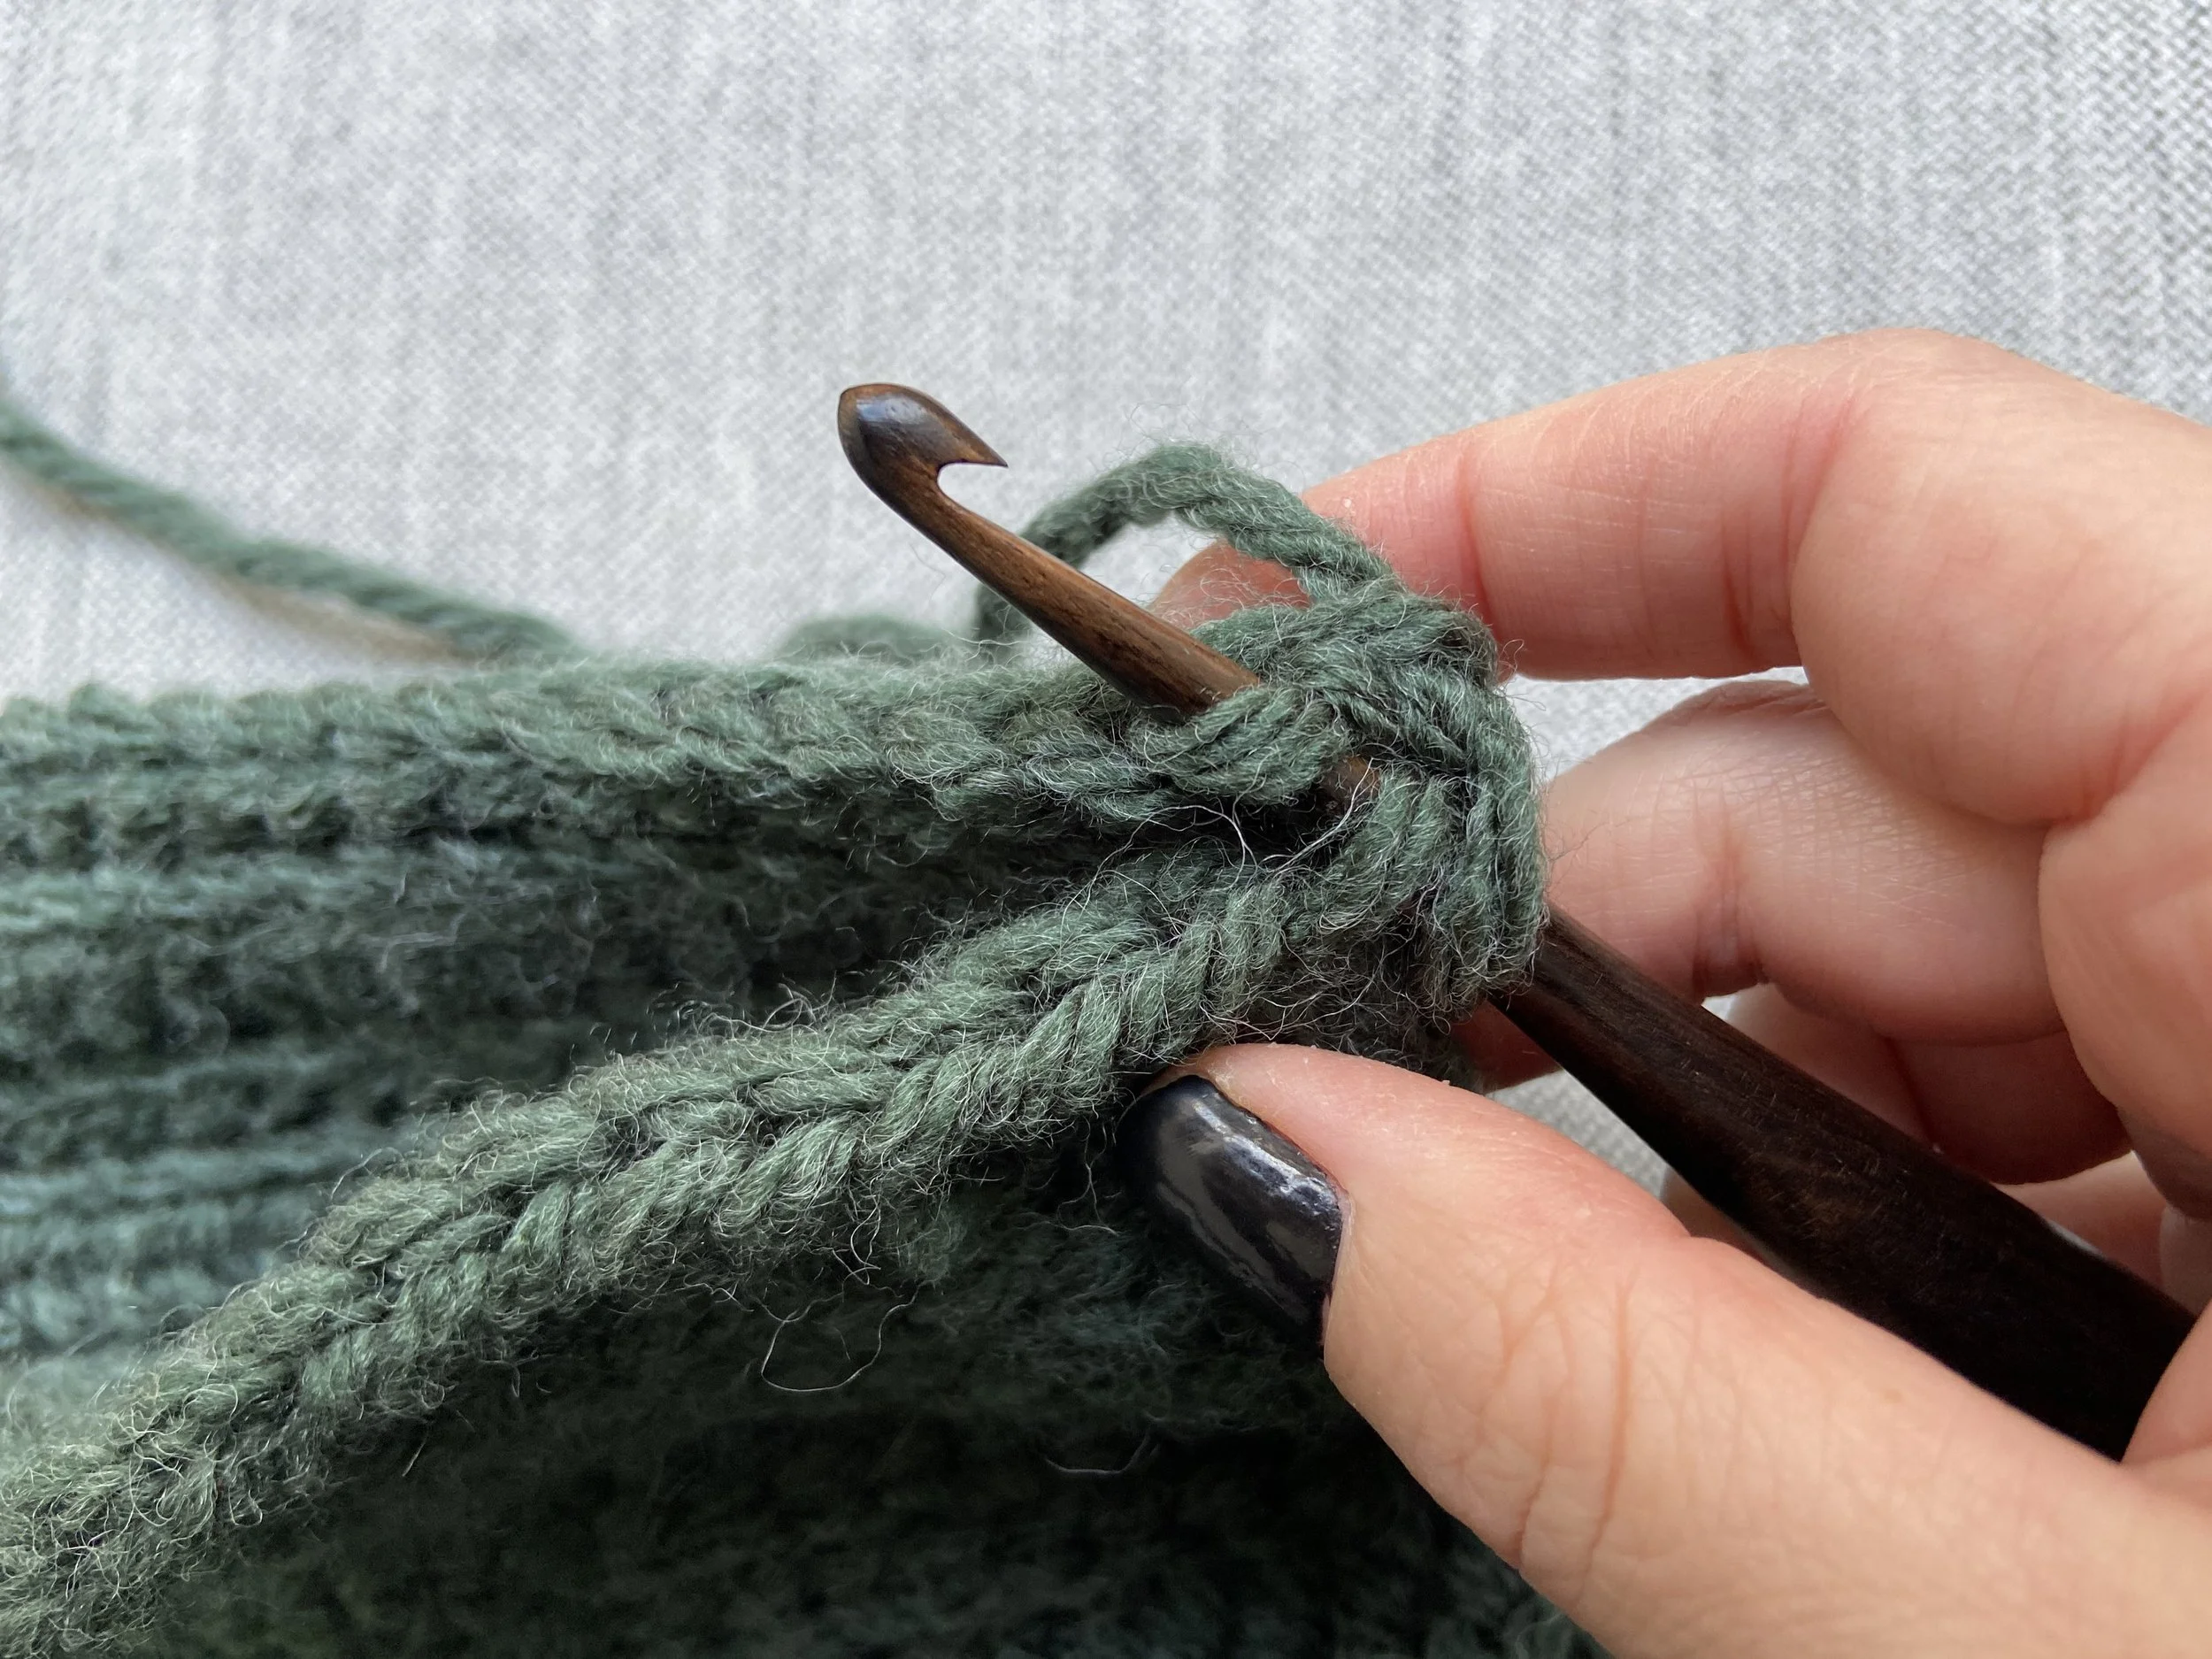
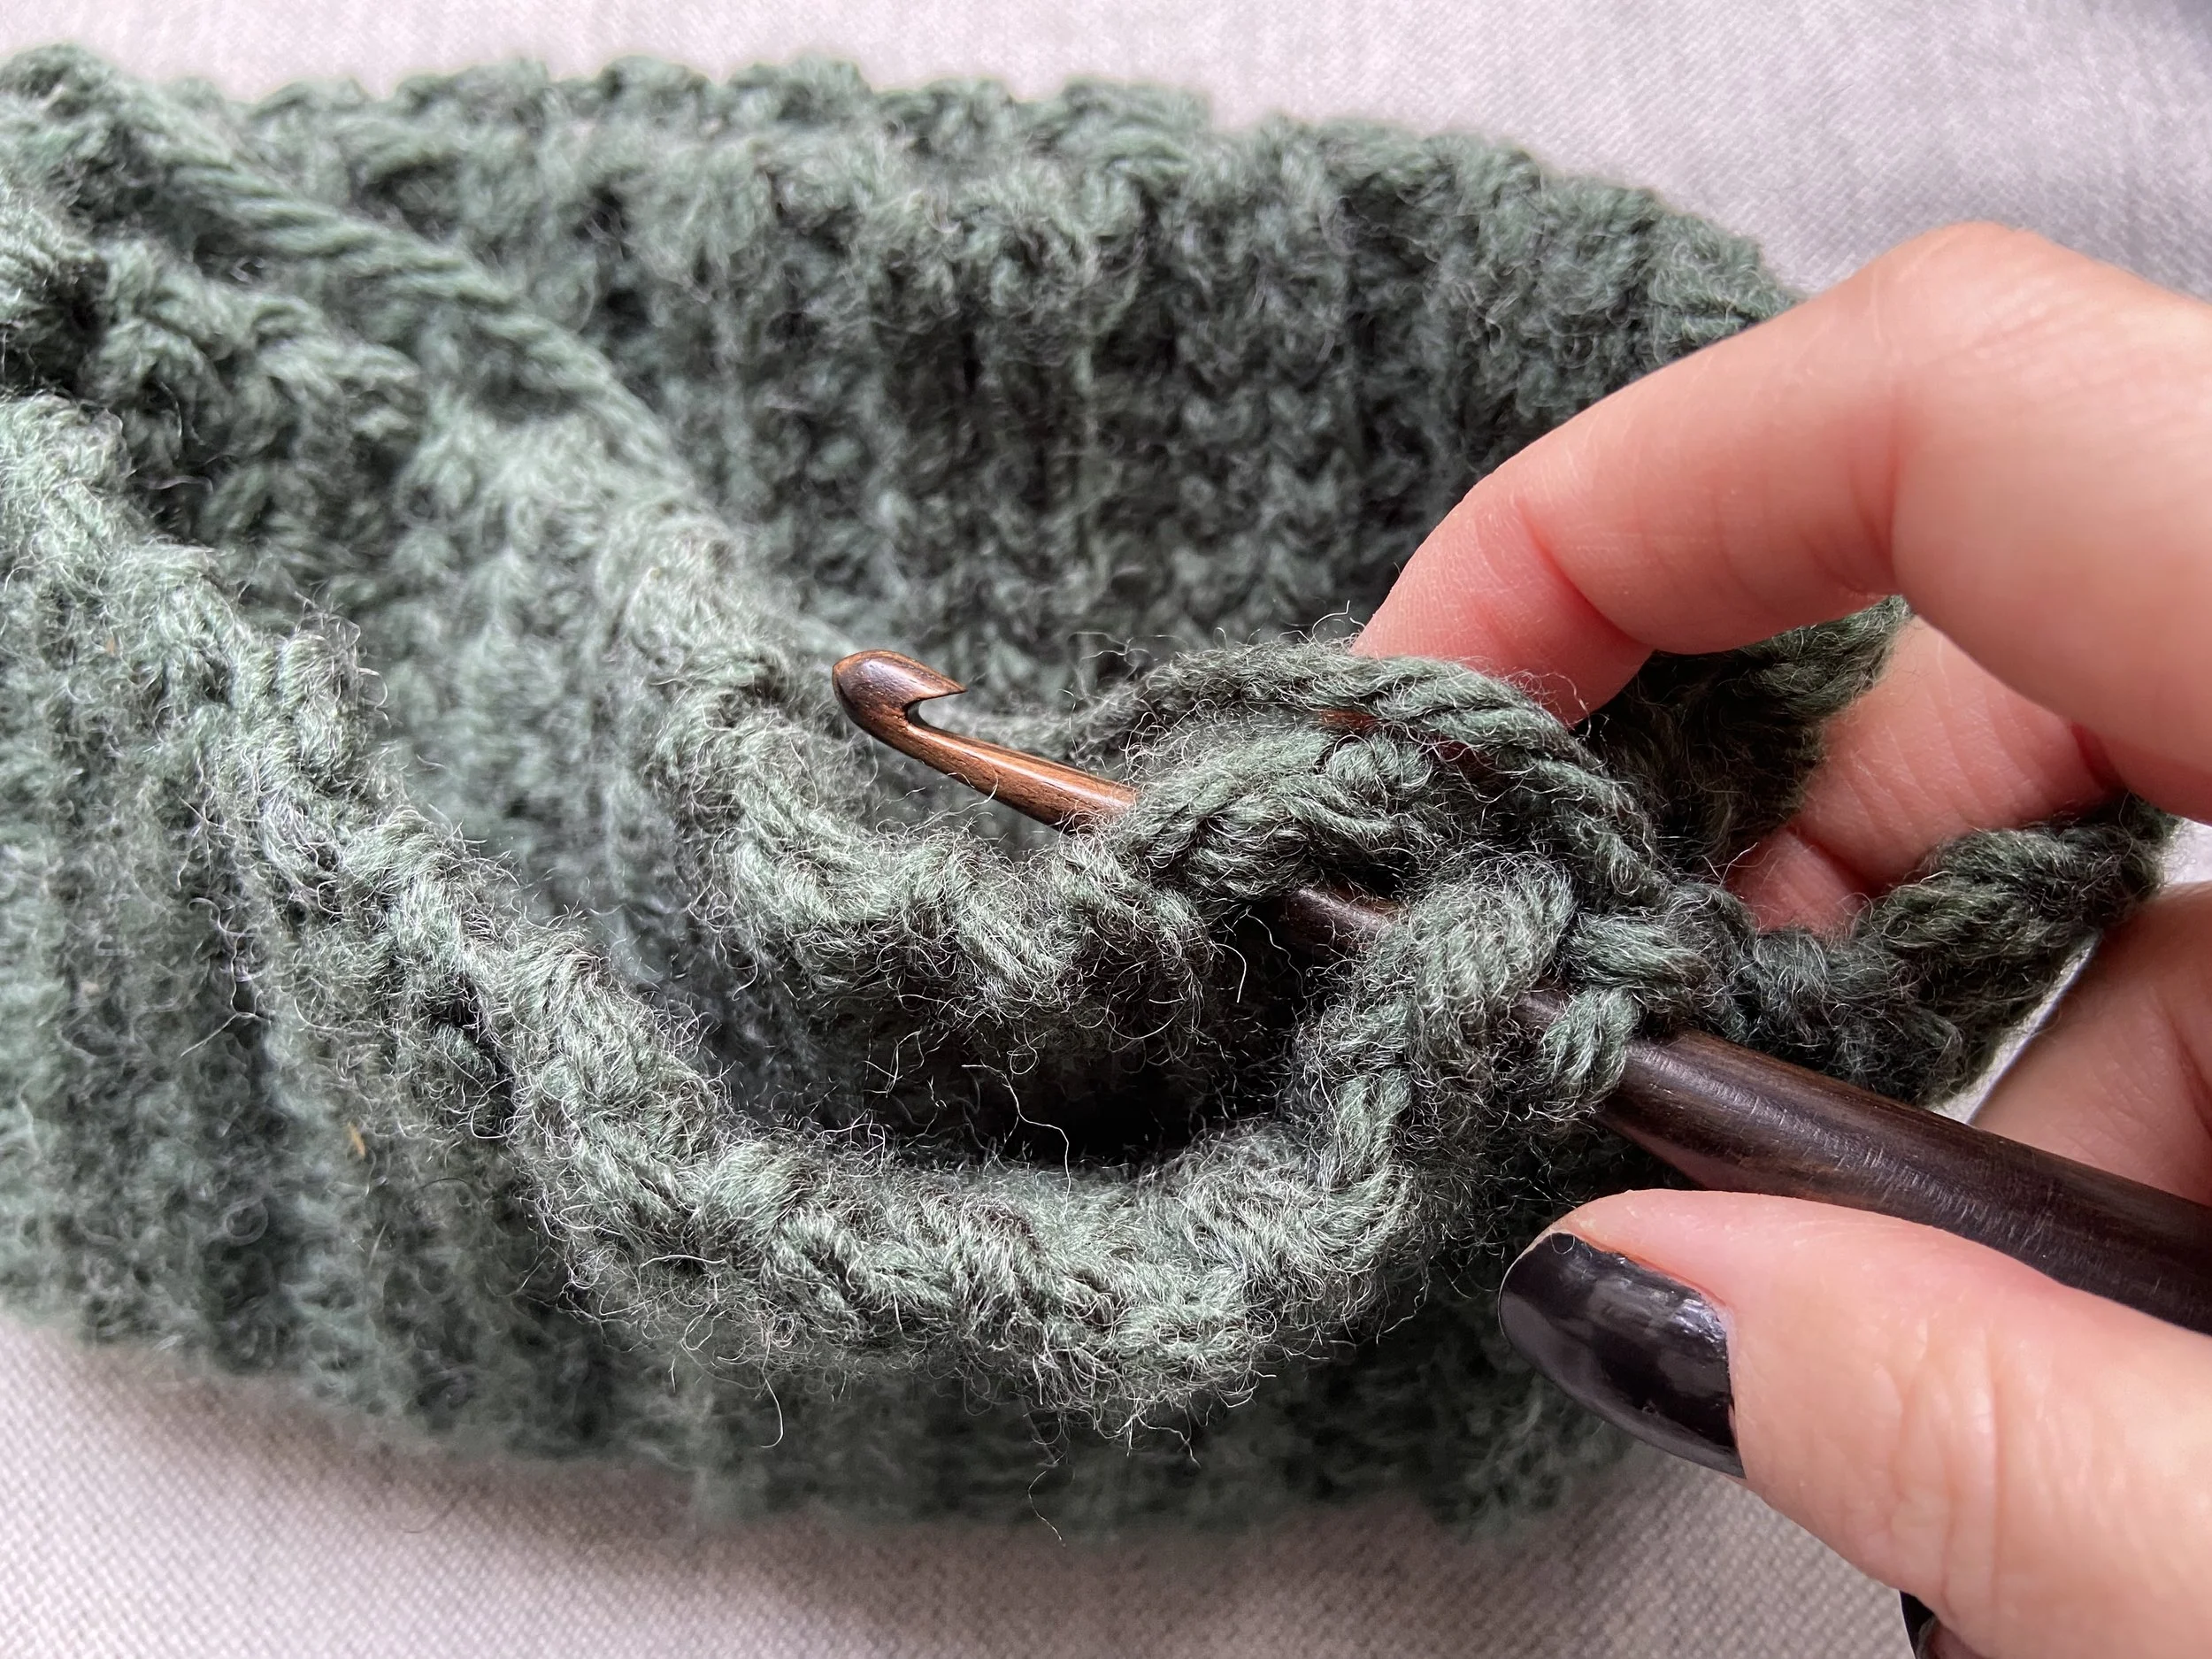
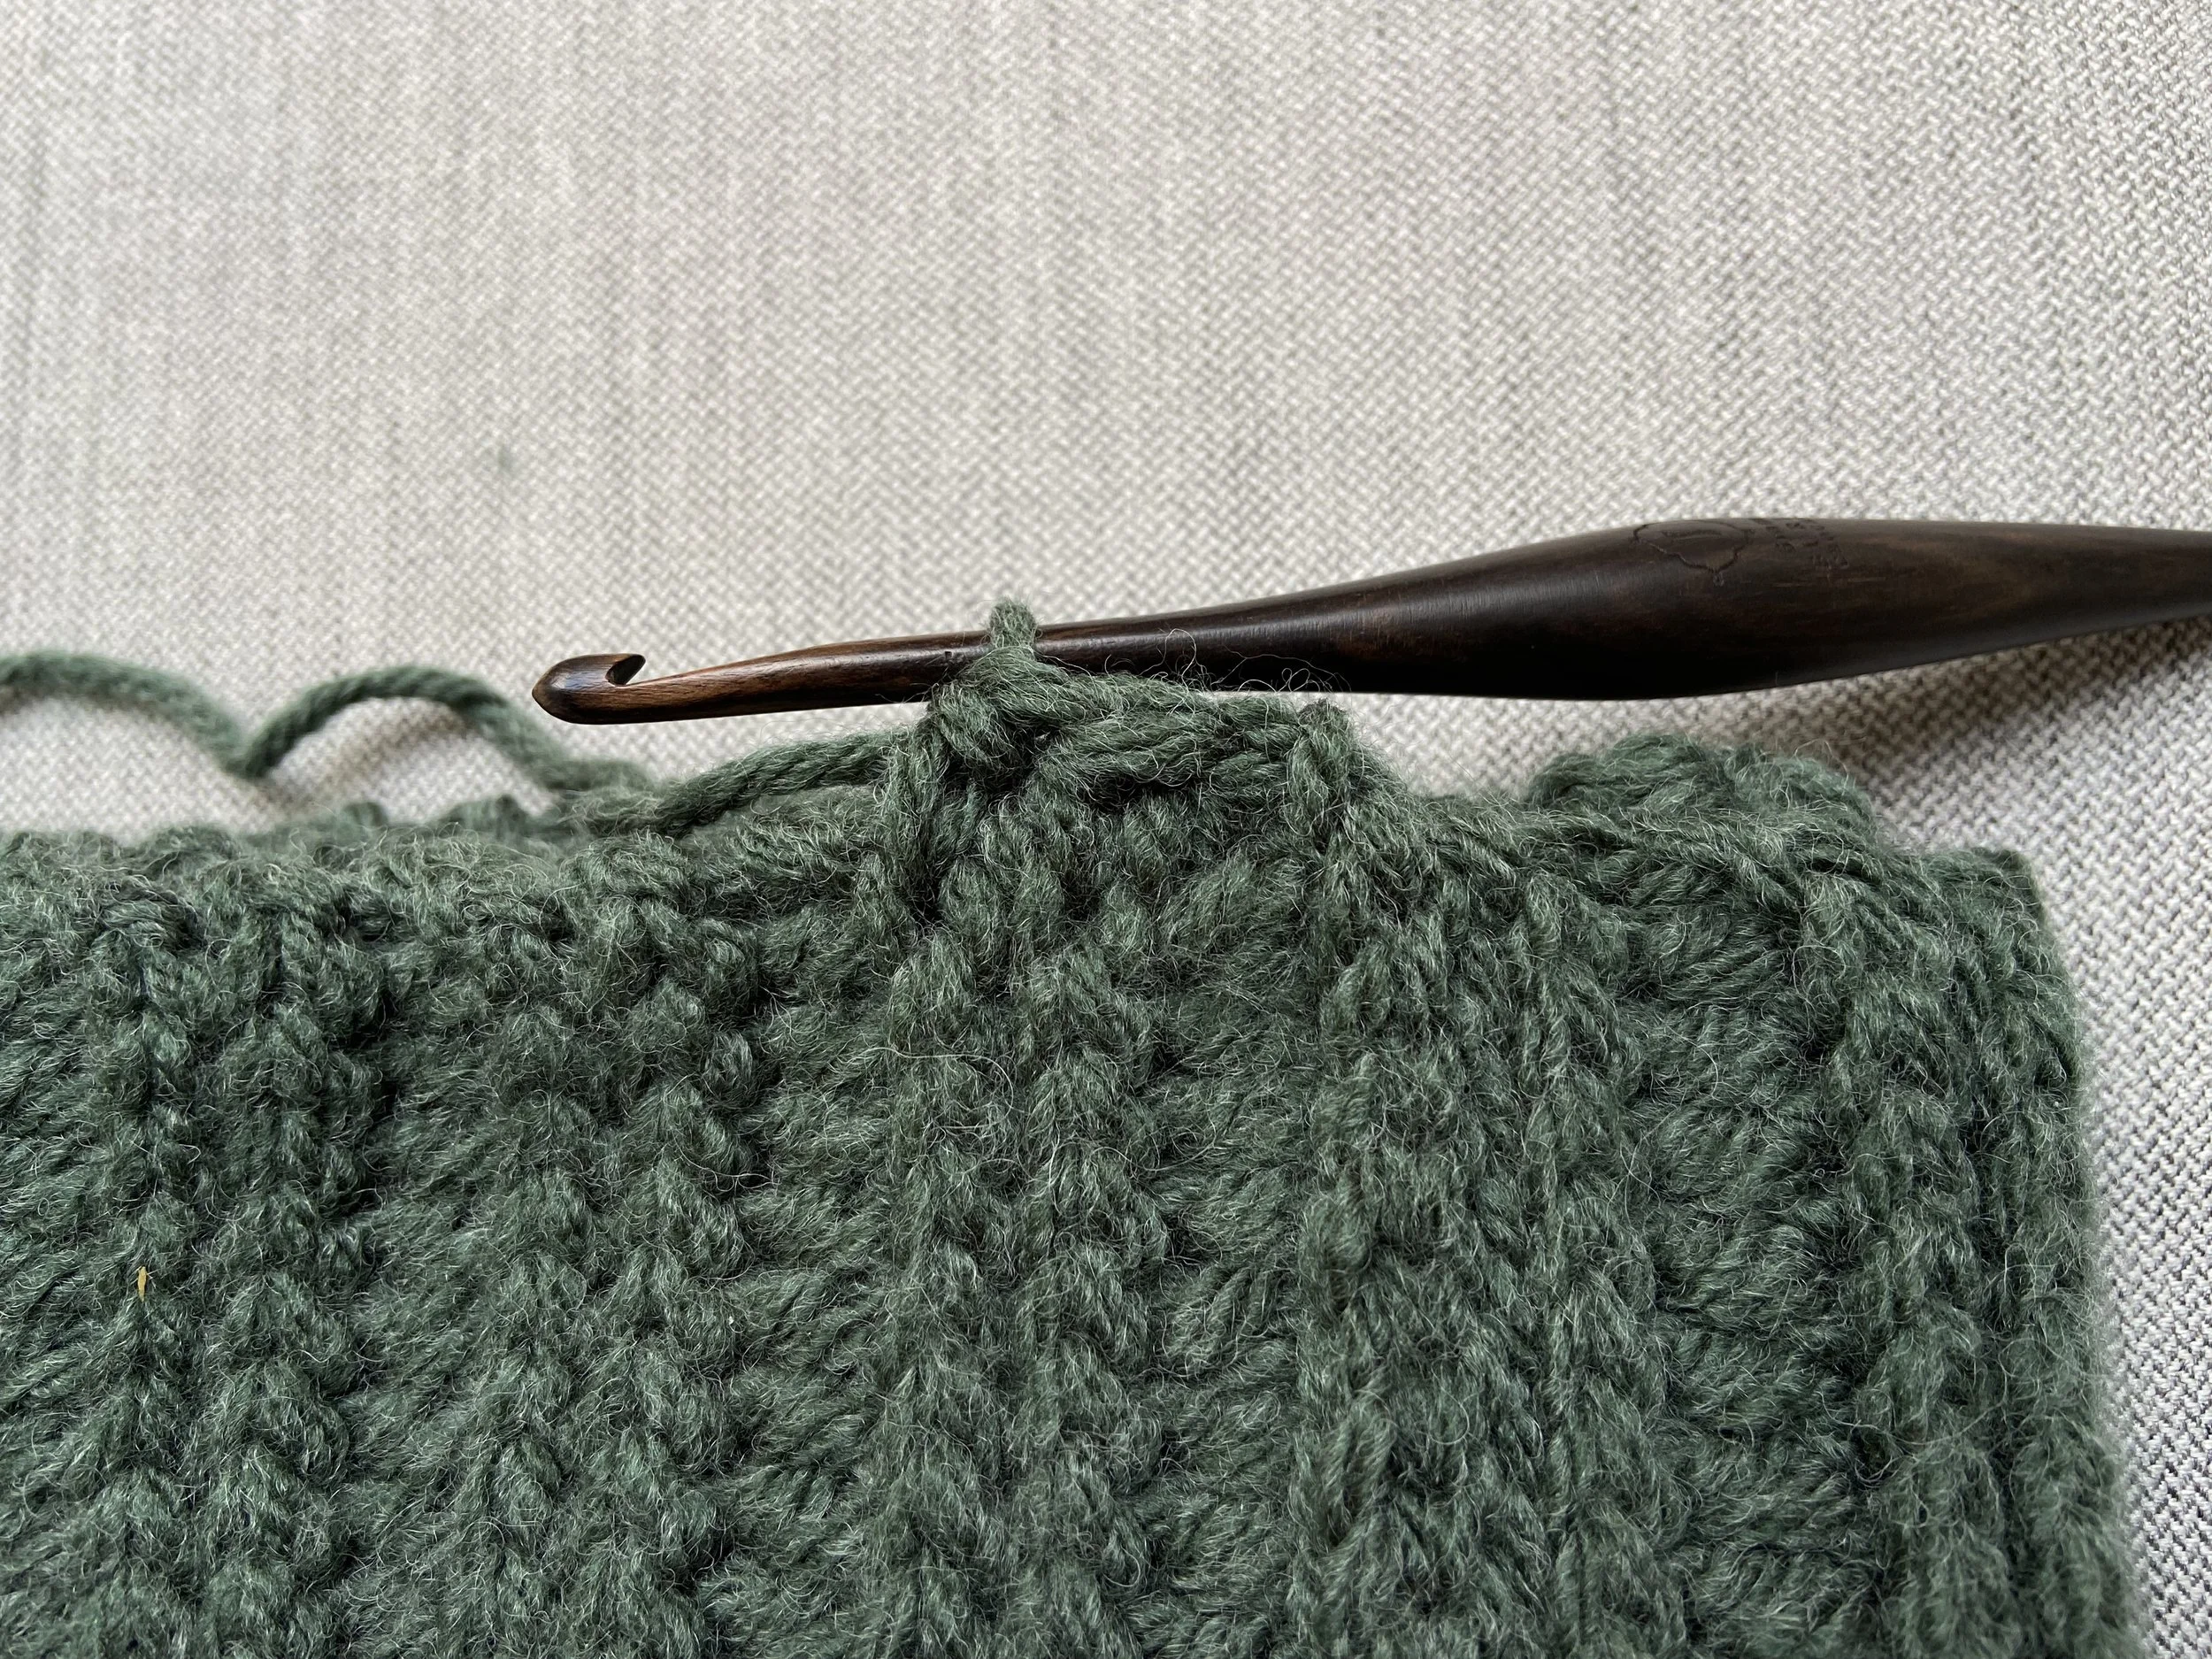
CH 1, turn. Fold brim in half, keeping the right side out (the side with the SL STs popping out!) bringing the foundation CHs and end of last row together. SL ST through the front loops of the foundation CHs and the front loops of the last row across (See Images; it’s ok if you can’t match my STs exactly, just SL ST the two ends together).
Crown
Round 1
With hook used to achieve crown gauge, CH 1, rotate your work and fold brim in half with the right side of the ribbing on the outside. SC through the sides of Row 1 of both layers of the brim, then work 3 HDCs per 4 rows of ribbing around working each ST through both layers of fabric (See Images below). Do not join with a SL ST. <39(42, 45)>
Round 2
Do not CH. You are now working in continuous rounds. SC directly into the top of the SC that started Round 1, HDC around.
Round 3
HDC around.
Rounds 4 to 11
Rep Round 3 until you have 11 rounds in total or hat reaches desired length. Fasten off leaving an 8 inch (20 cm) tail.
Seaming Top
Weave long tail through every other stitch around entire hat top, pull it tight and secure it to close the top of the hat.
Pom Pom
Attach a pom pom tao the top of your hat! Want to know how to make your own pom pom? Check out my tutorial here.
Blocking
Block your hat for optimum comfort and fit!
Thank you so much for making the Beckett Beanie! Tag me @ilovetinderbox on your favourite social media platform (I’m on almost all of them!) so I can see your finished product. If you have any questions please email me courtney@ilovetinderbox.com
Happy holidays, see you next year with more free patterns & educational crochet content! In the meantime, happy crocheting!
Courtney