
It’s day 3 of Gauge Week – the day a lot of you have been waiting for! Today’s topic is how to gauge in the round.
Typically, we gauge in the round when the pattern is worked in the round. This is common in yoke style sweaters, hats, socks, and amigurumi, among other things. When you work in the round your stitches all face the same direction. The stitches can behave slightly differently when worked flat versus in the round – that is why it is important to gauge in the round if it is specified that way in the pattern.
When gauging in the round you have two major options – both work just fine so it is a matter of personal preference.

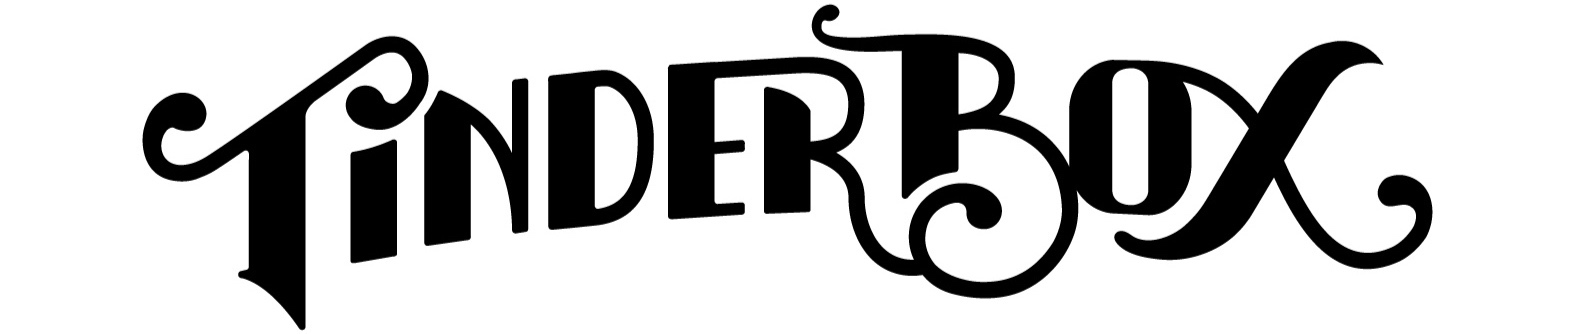
Option 1: Create a Tube
Instead of creating a flat swatch, you’re going to make a tube. However, you want to make sure you still have a big enough flat space on the tube to measure the size of your swatch (usually 4 x 4 inches or 10 x 10 centimetres). This means you’re going to need to do a lot of extra stitches.
My formula is:
The number of stitches listed in the gauge in the pattern times by 2, plus 4-6 extra.
Then you’re going to join in the round, chain up the stitch height (e.g. SC = 1, HDC = 2, DC = 2 or 3, TC = 3 or 4) and stitch all the way around the loop. Join together with a slip stitch, and repeat rounds until you have 2-4 extra rounds than is listed in the gauge in the pattern.
Block your swatch (YES! Block it! More on this on Friday). Lay the tube flat and measure the stitches in the centre. We always do extra stitches and rows and measure the inner portion to ensure the chains aren’t pulling the stitches.
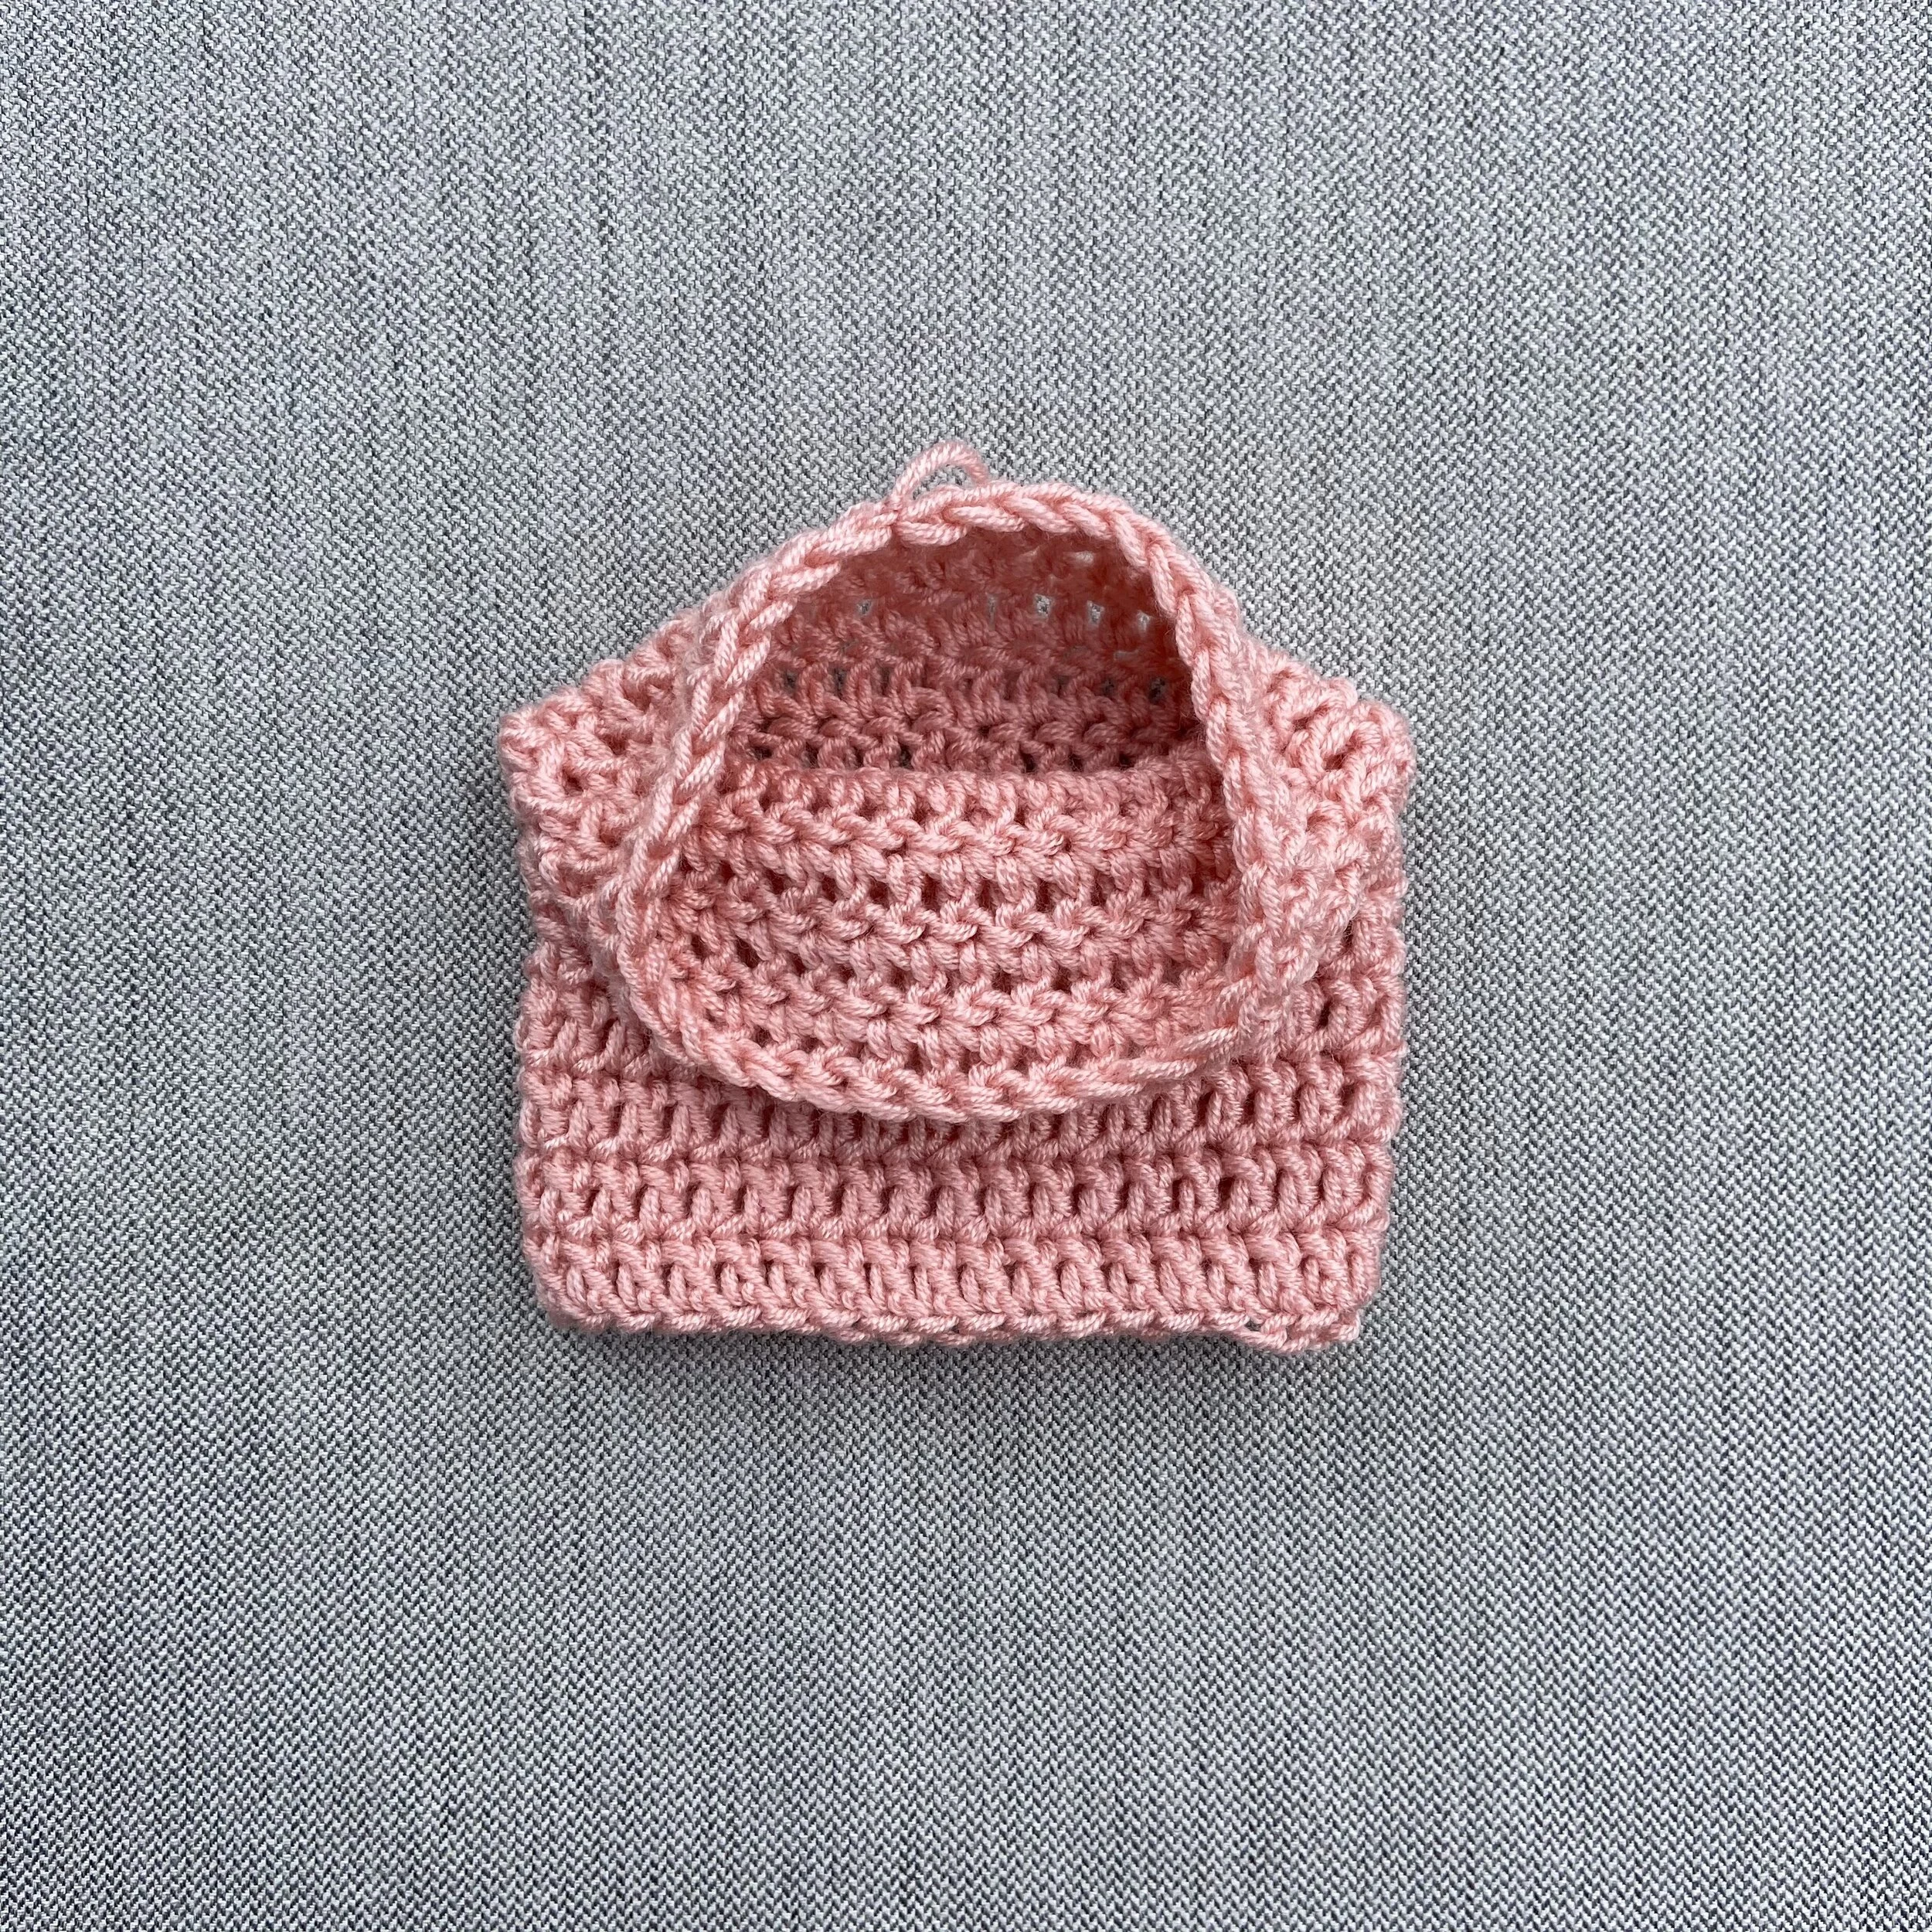
Option 2: Float Your Working Yarn
In this swatch you will still be working flat, but keeping your stitches all facing the same direction by trailing the working yarn behind your swatch.
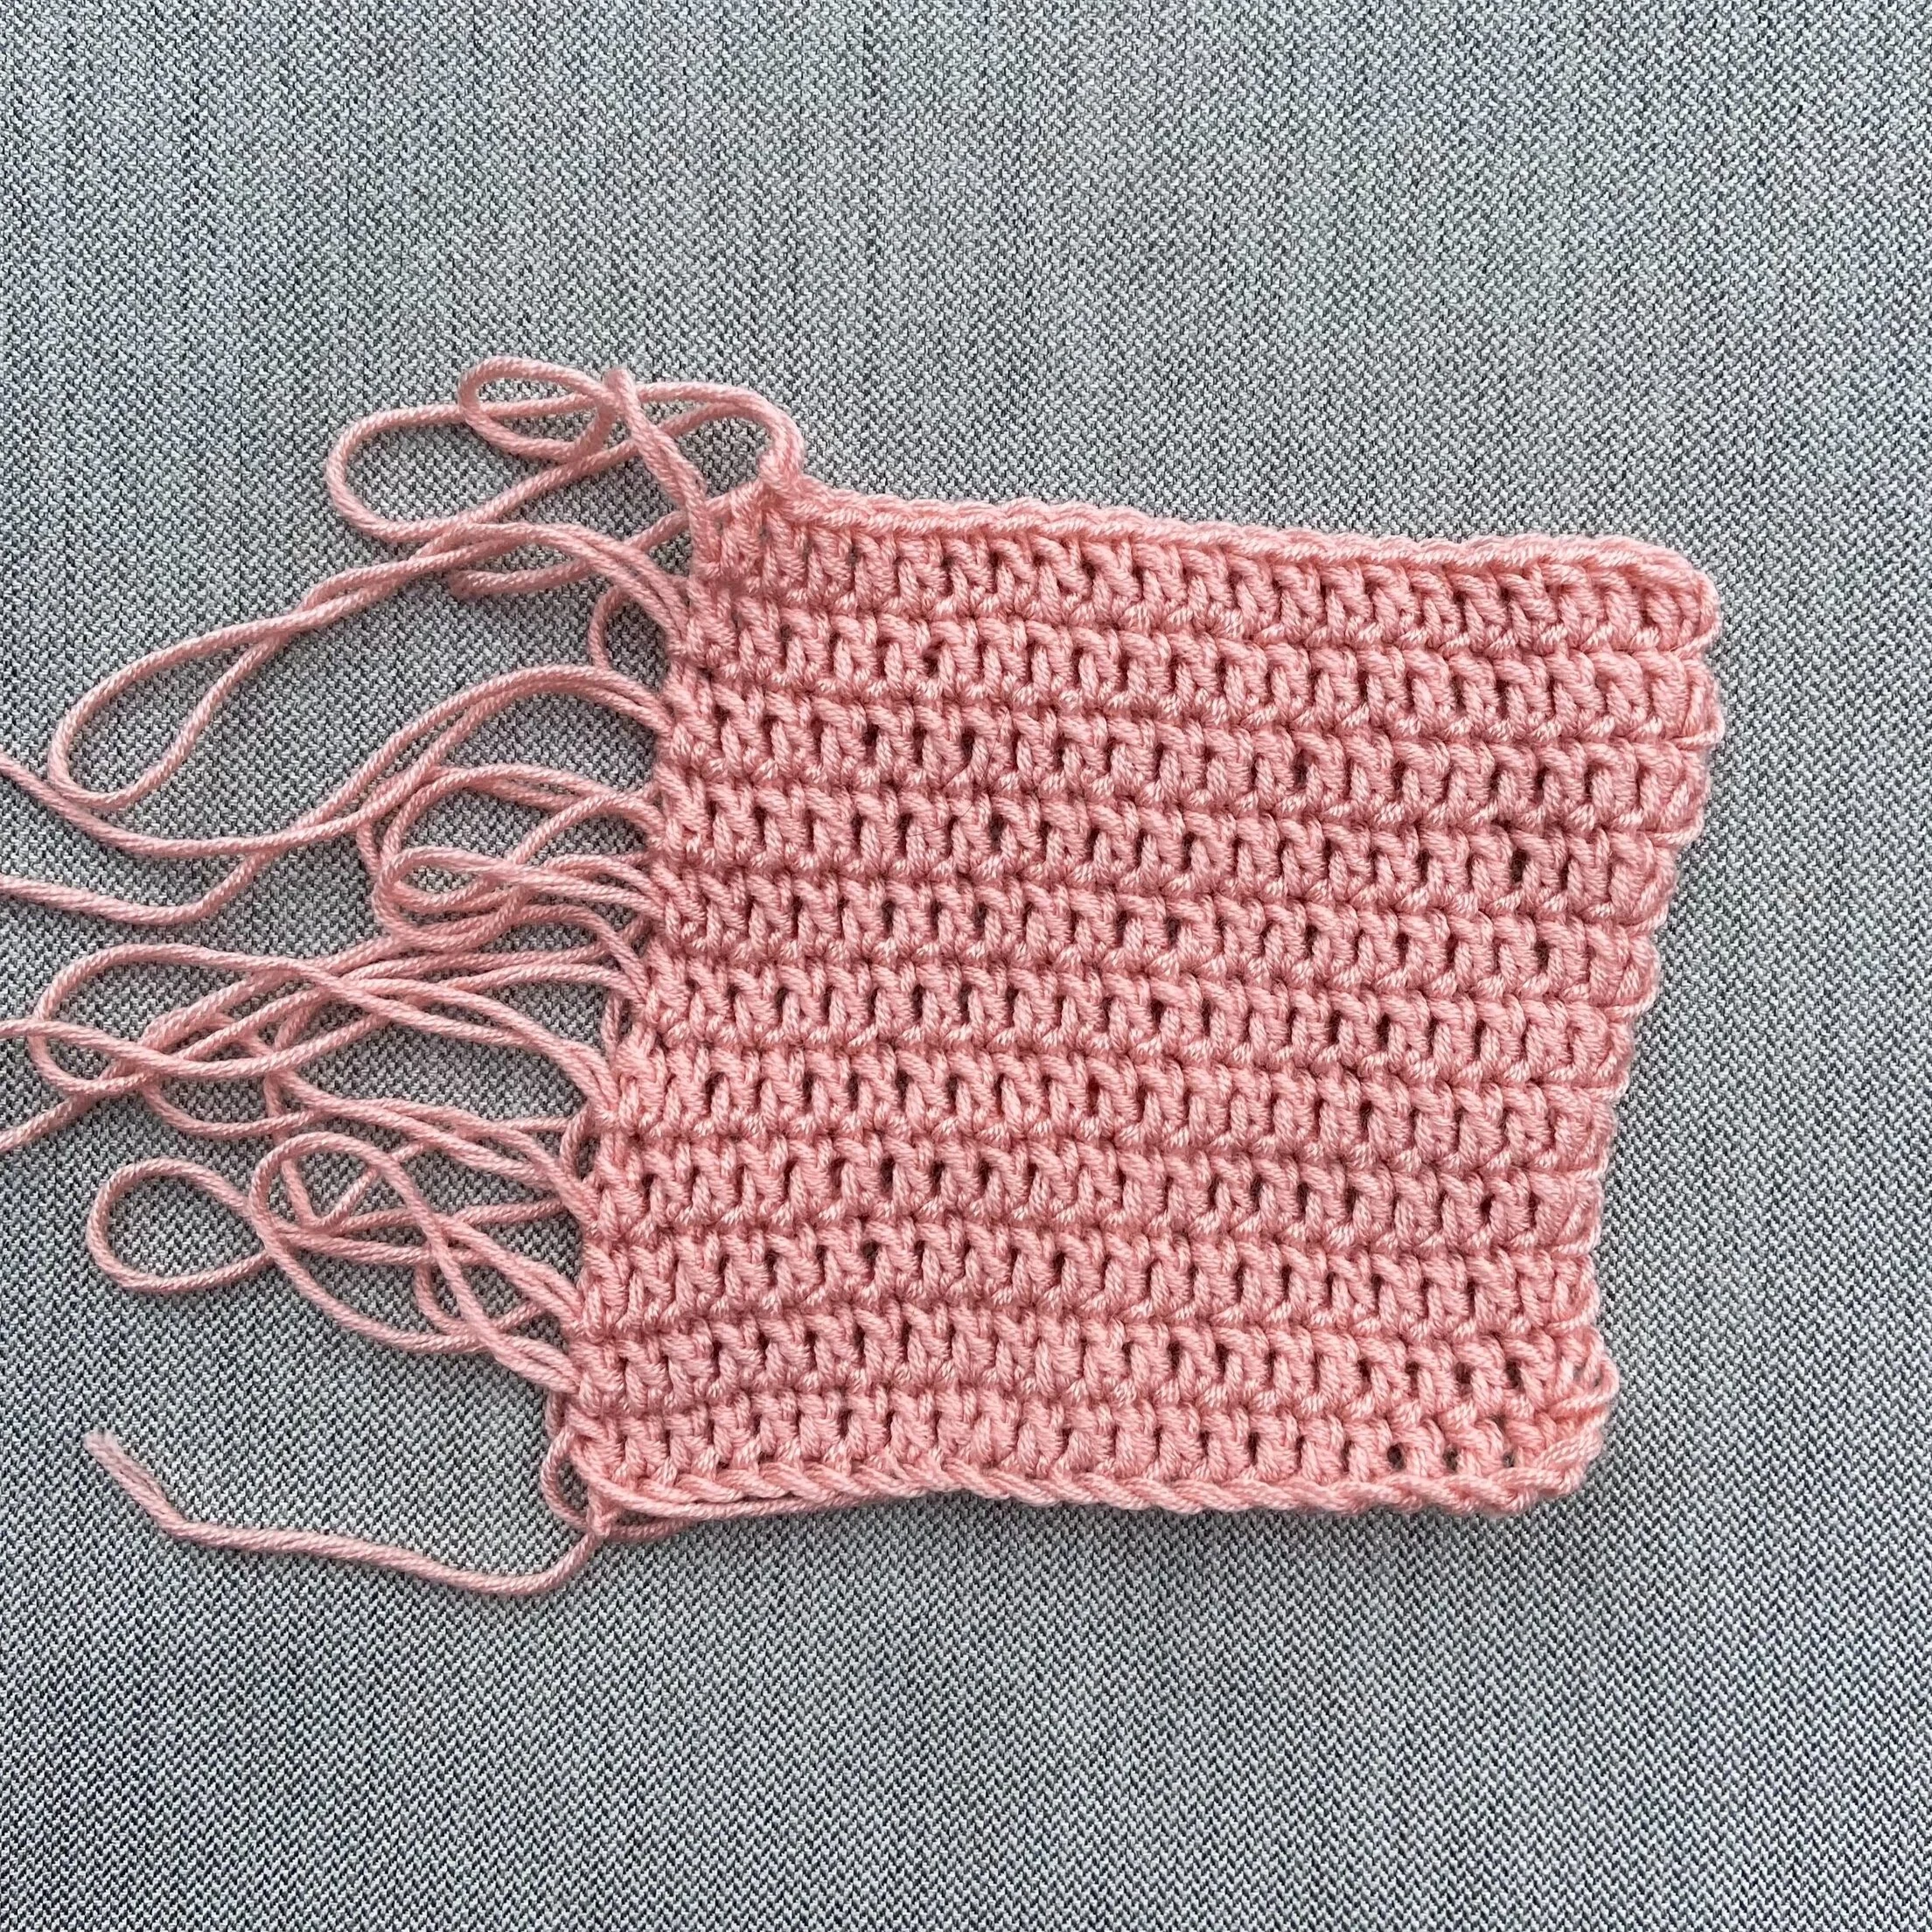
Here is my formula:
The number of stitches listed in the gauge in the pattern, plus 4-6 extra, plus the number of chains needed to reach the stitch height (height (e.g. SC = 1, HDC = 2, DC = 2 or 3, TC = 3 or 4)
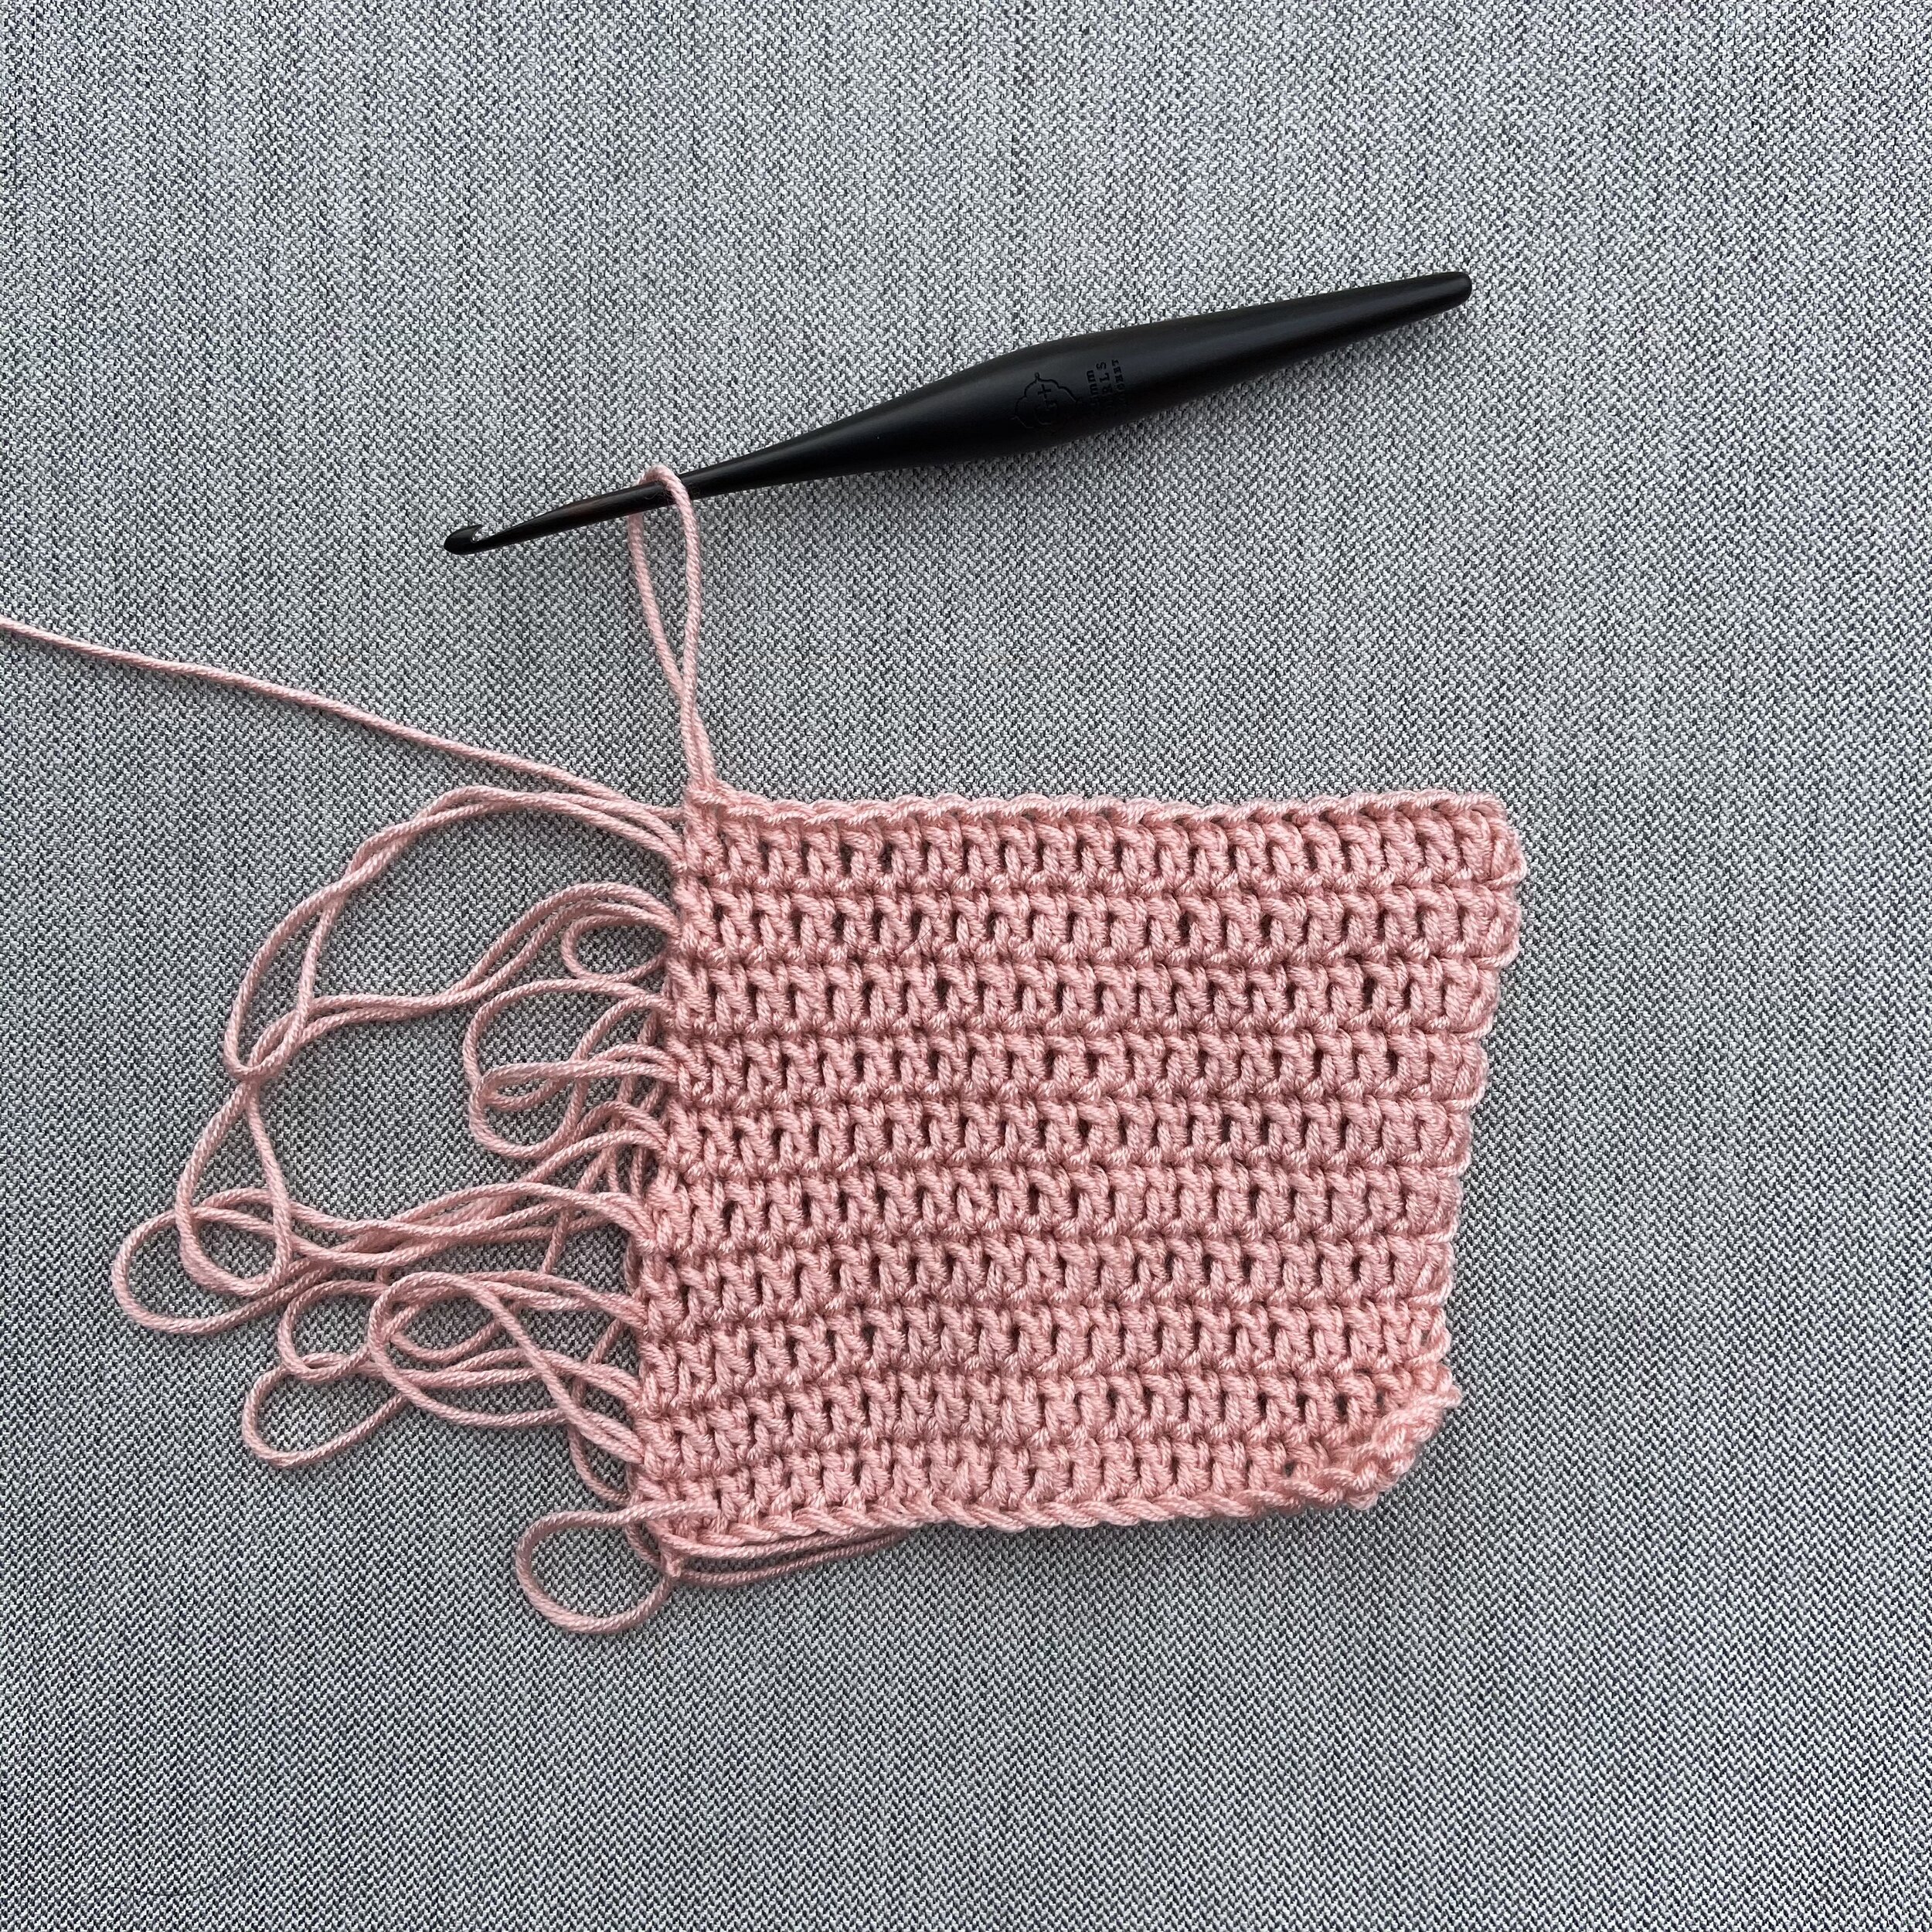
Then you will skip the stitch height chains, and stitch into all the remaining chains across. When you reach the end, pull up a long loop so that the stitch doesn’t accidentally get pulled out and trail the working yarn behind your swatch. Alternatively, you can fasten off at the end of each row, to eliminate the risk of the stitches being pulled out
Next you’ll re-attach to the top of the first stitch, chain up the stitch height and work your stitches across again. Repeat this until your swatch is 2-4 rounds longer than is listed in the gauge in the pattern.
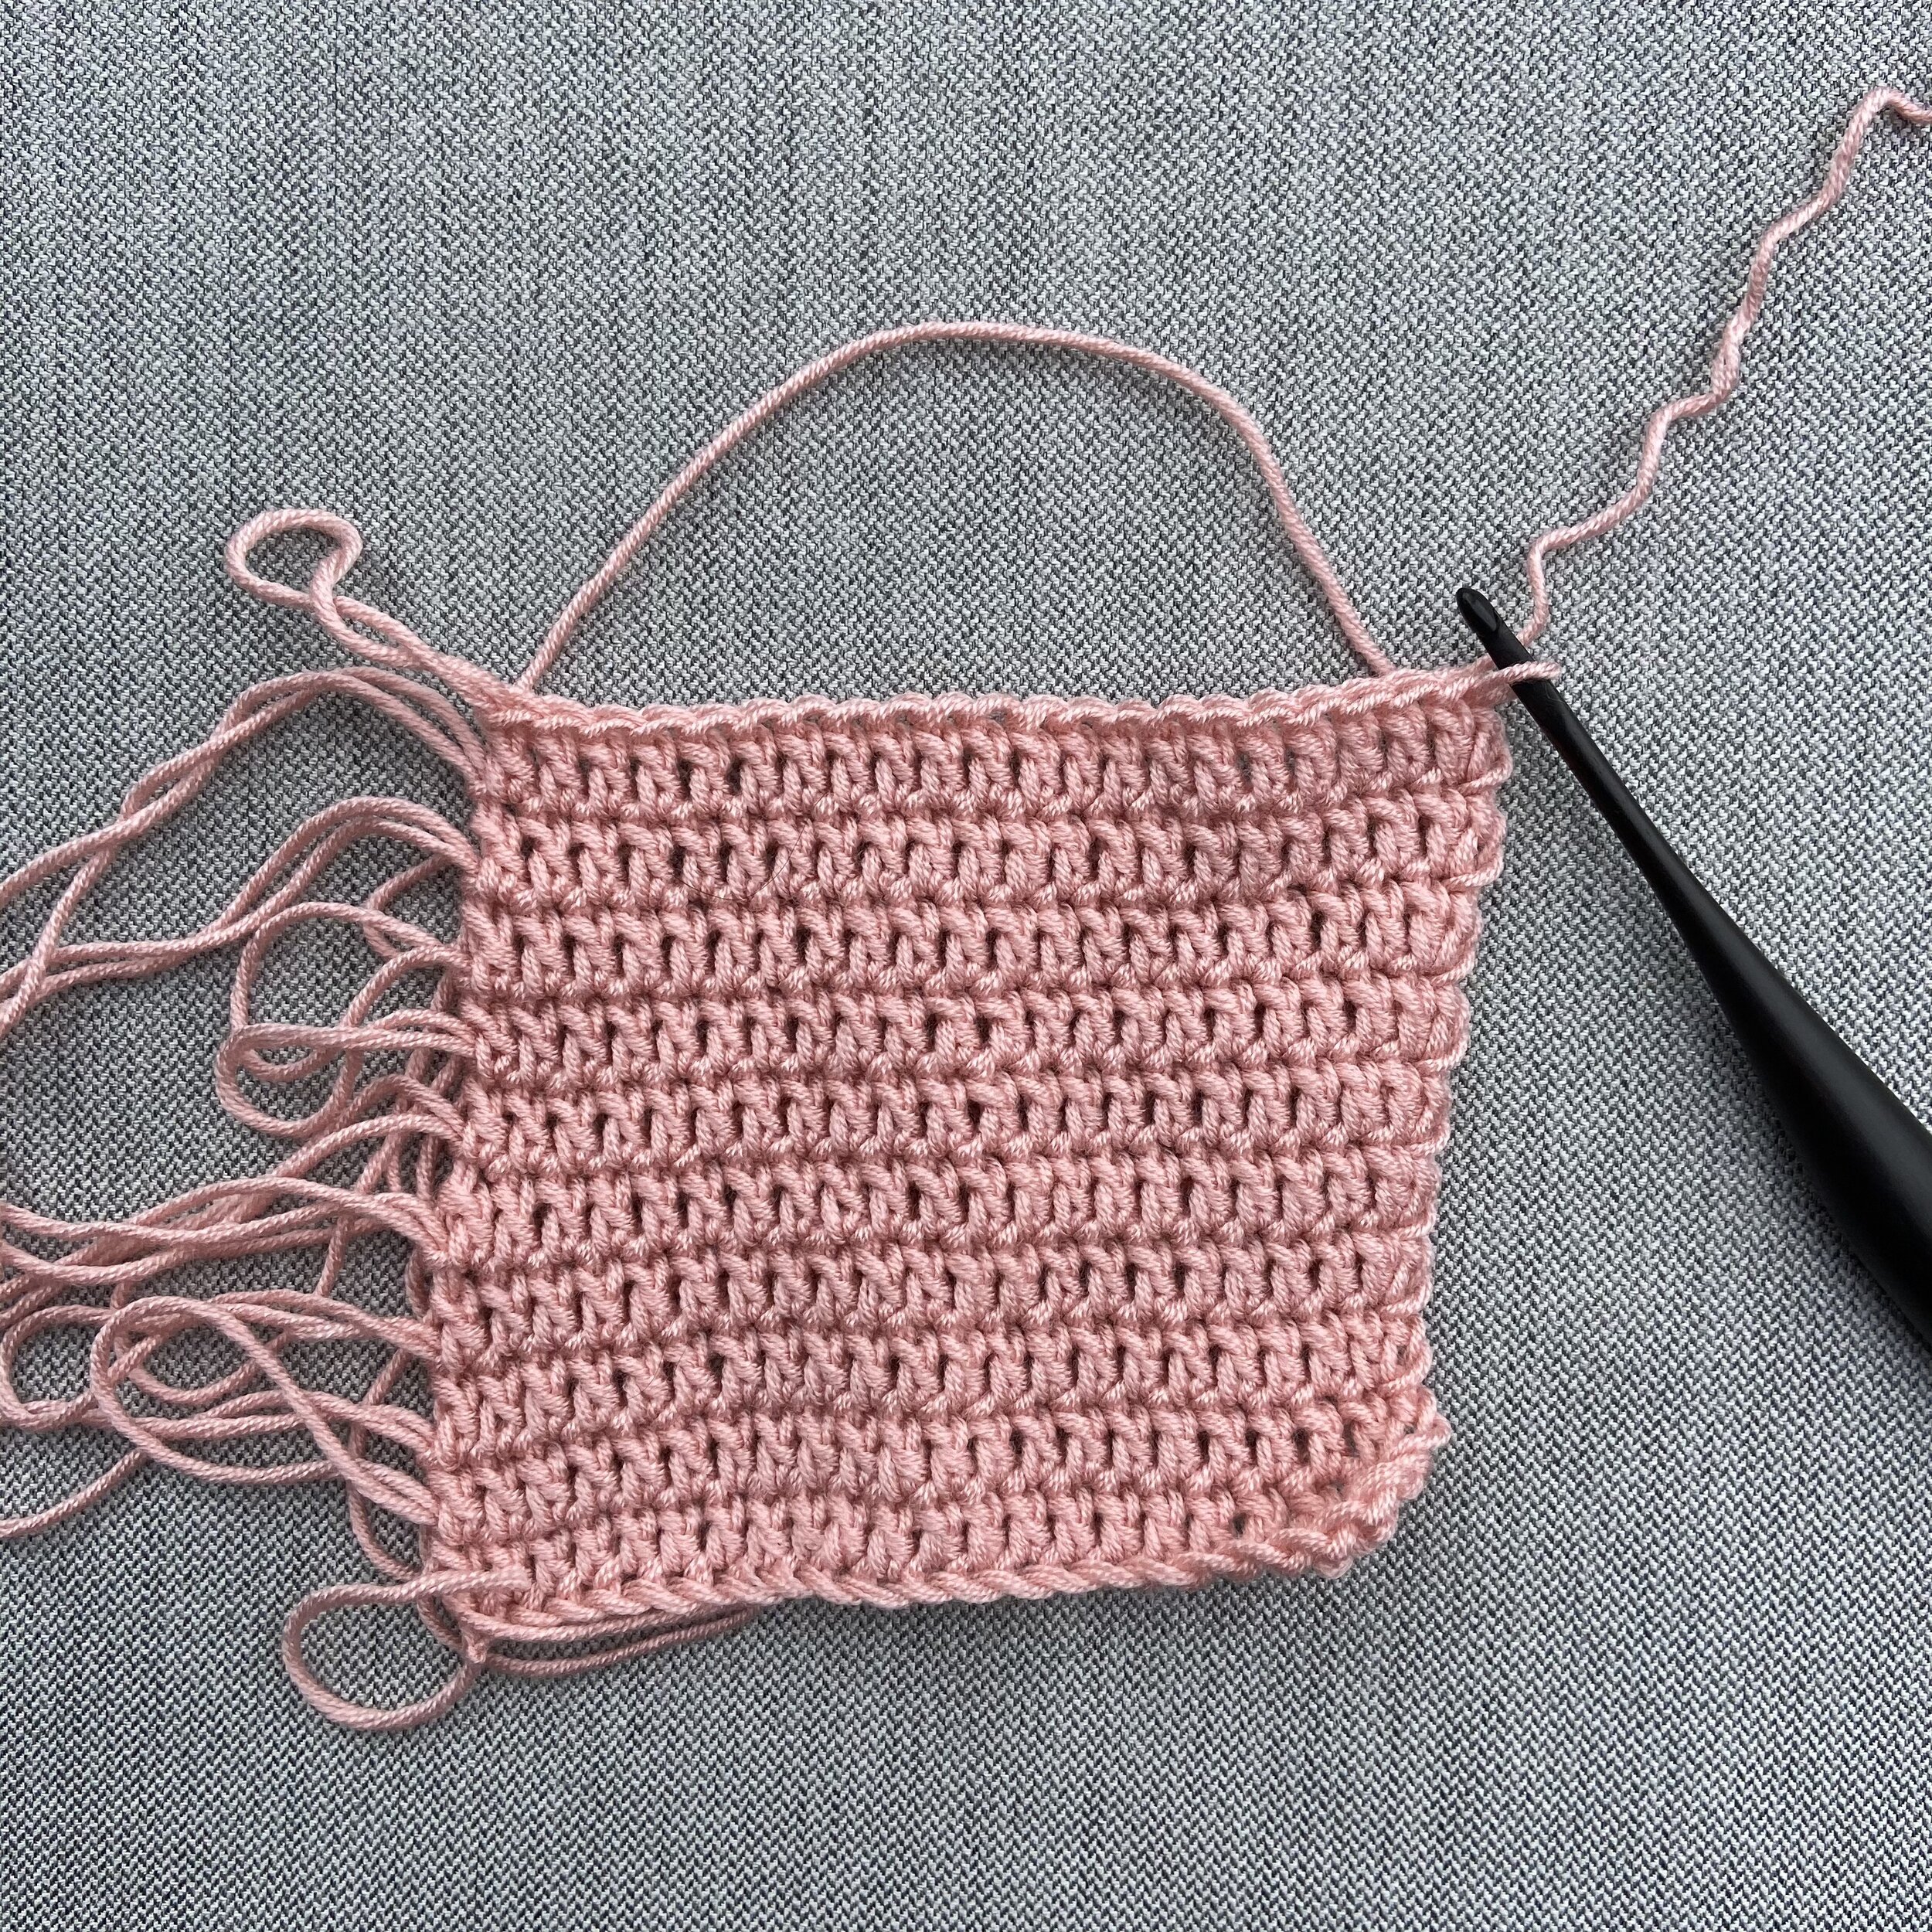
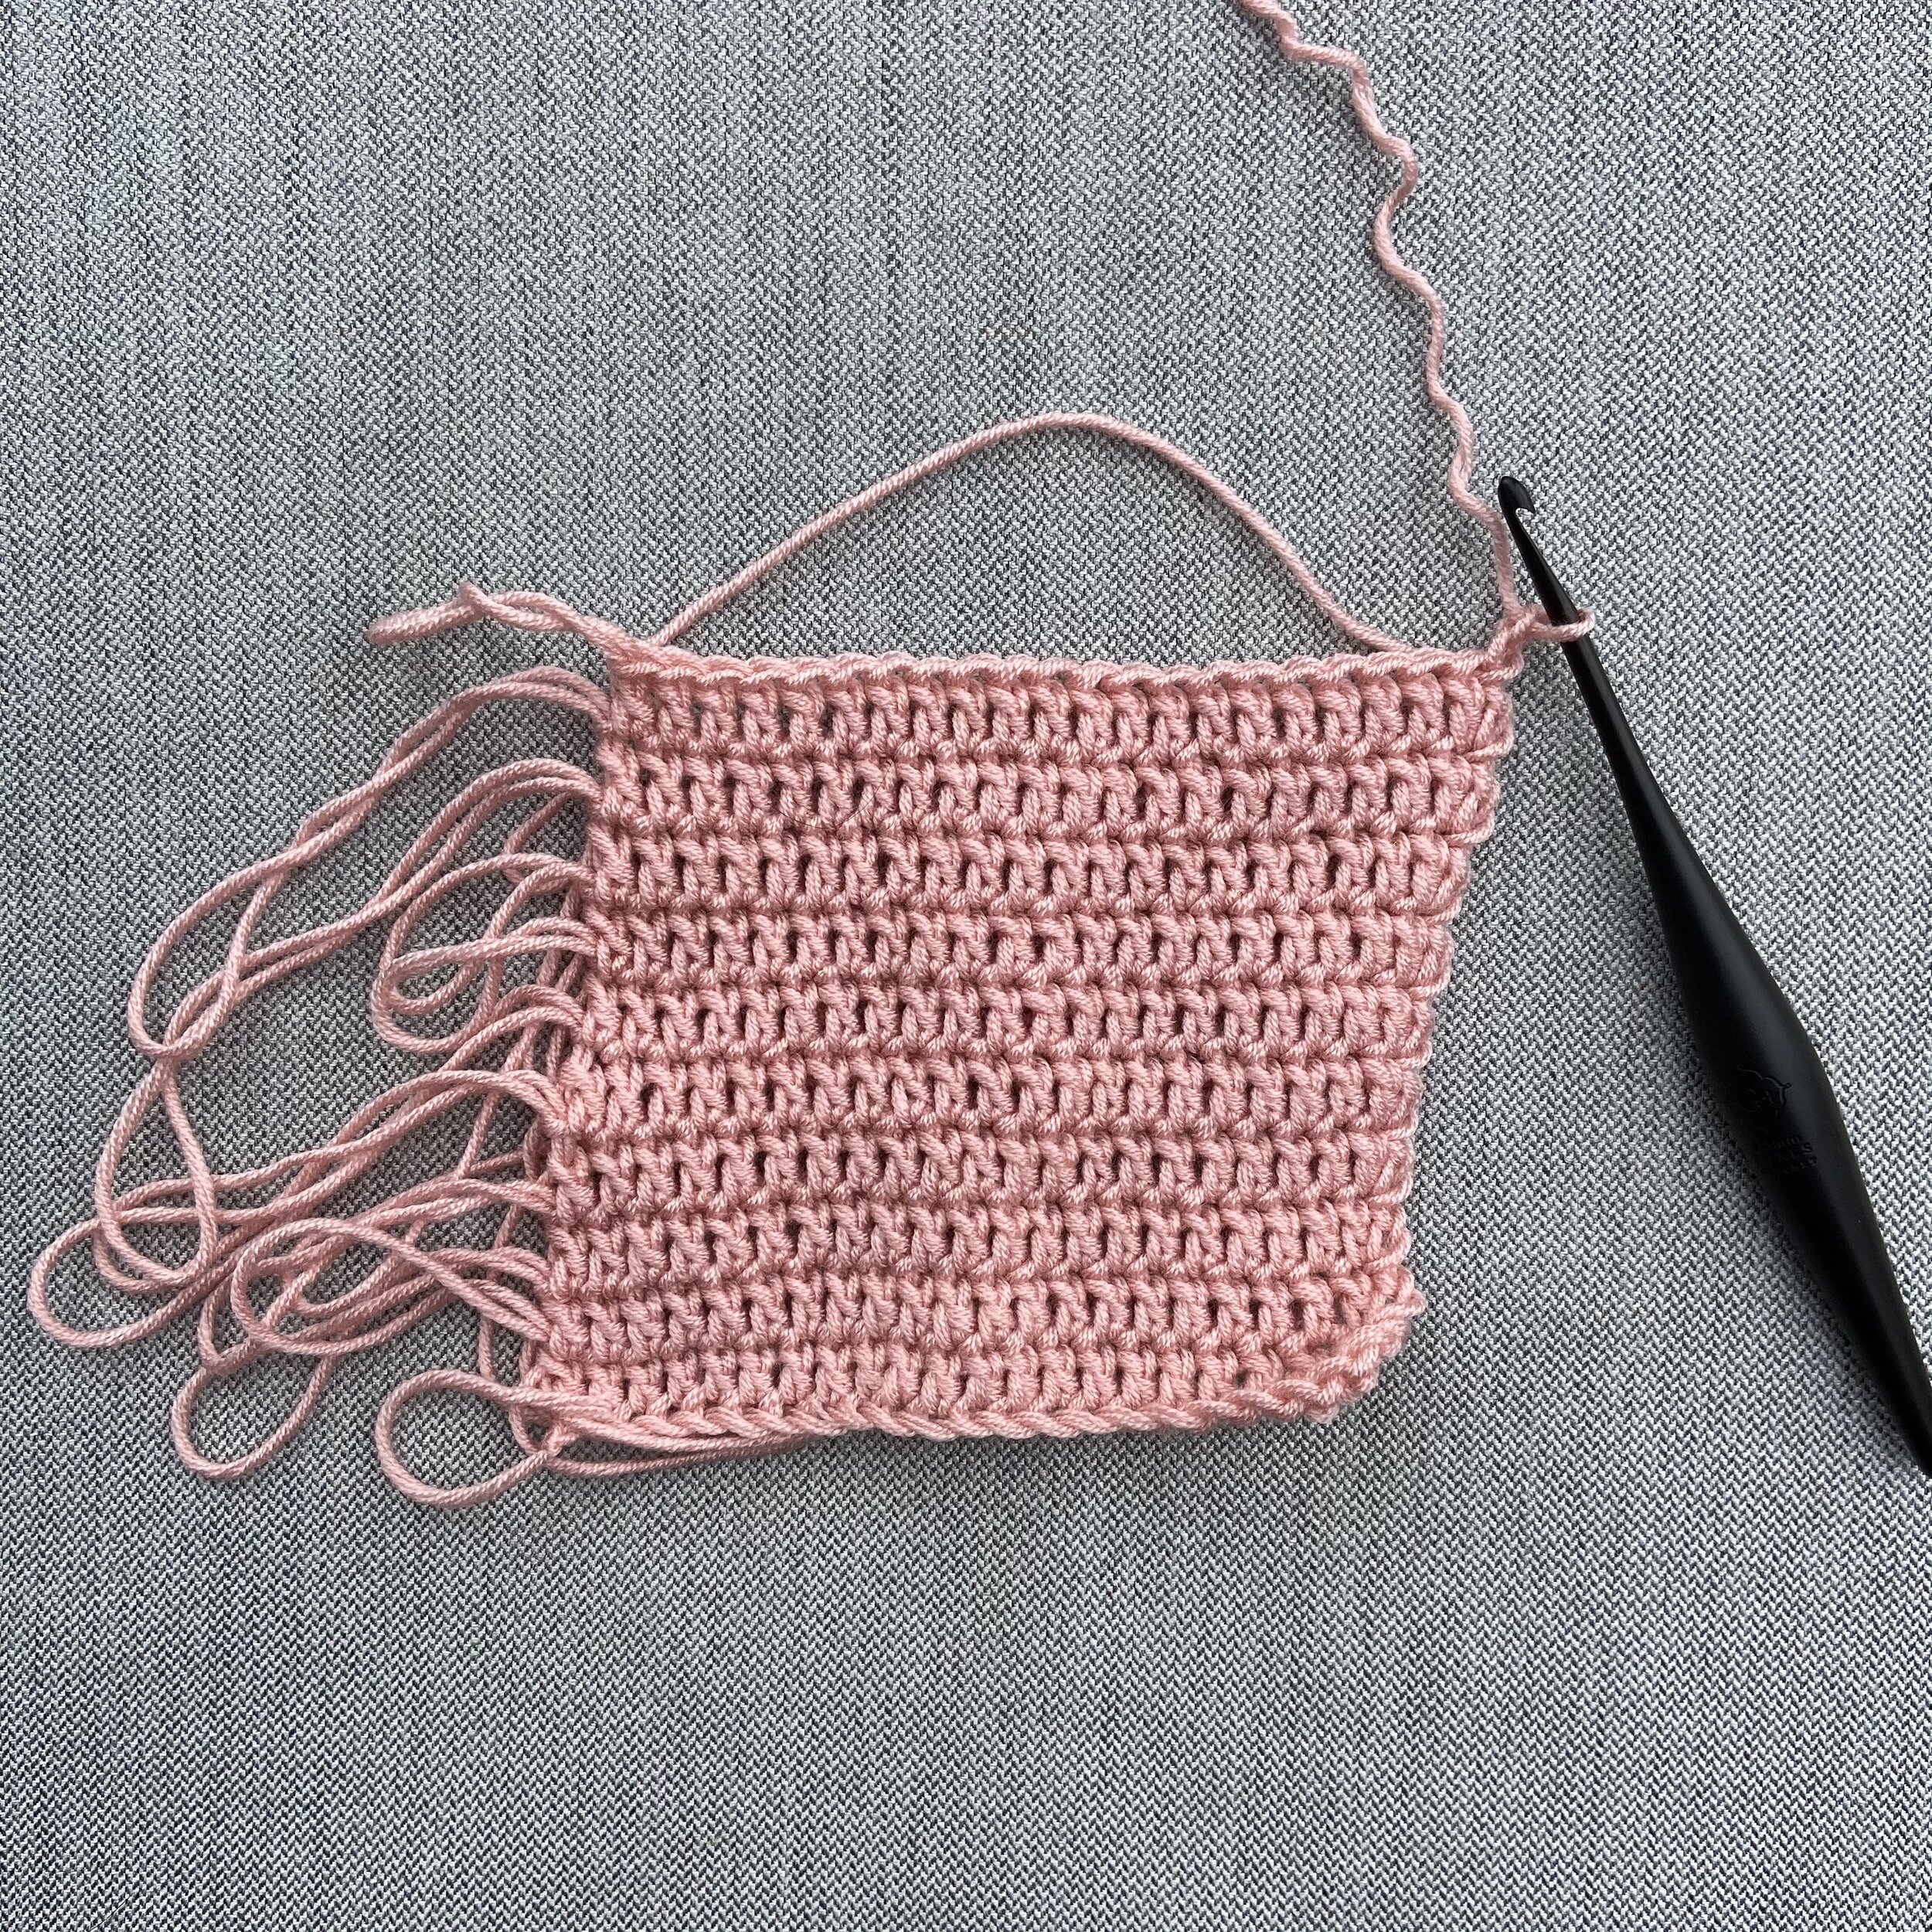
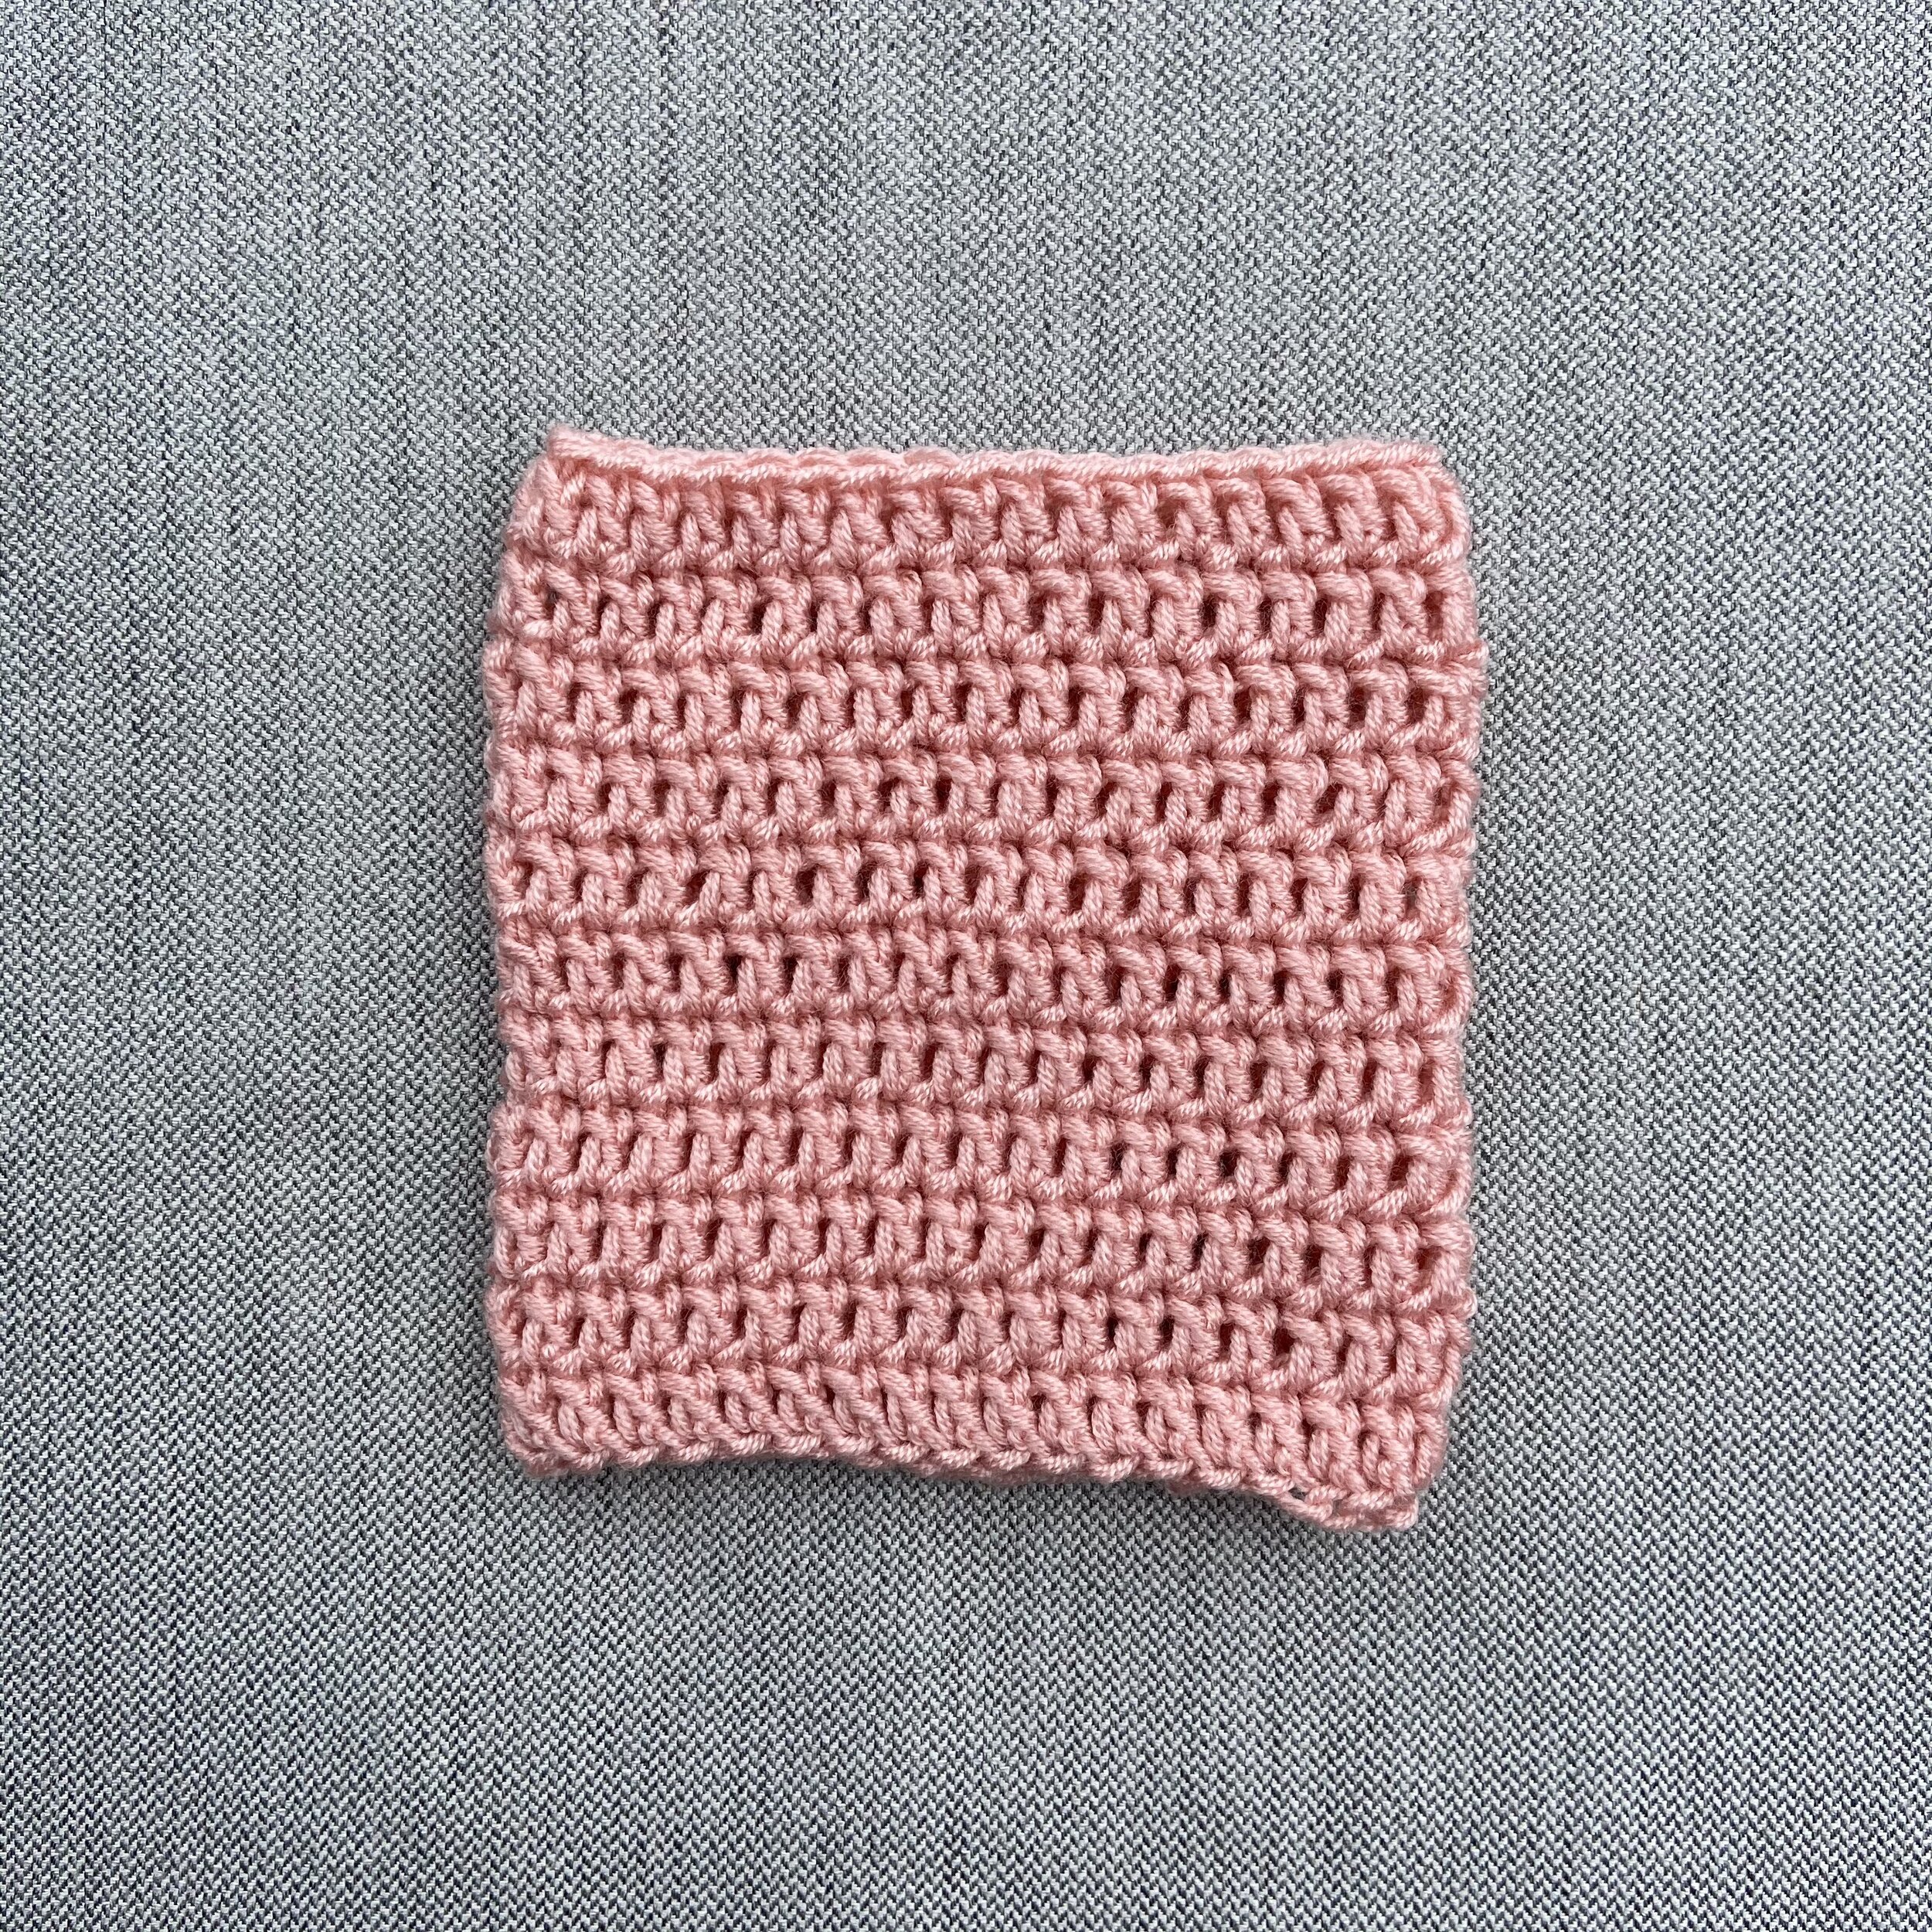
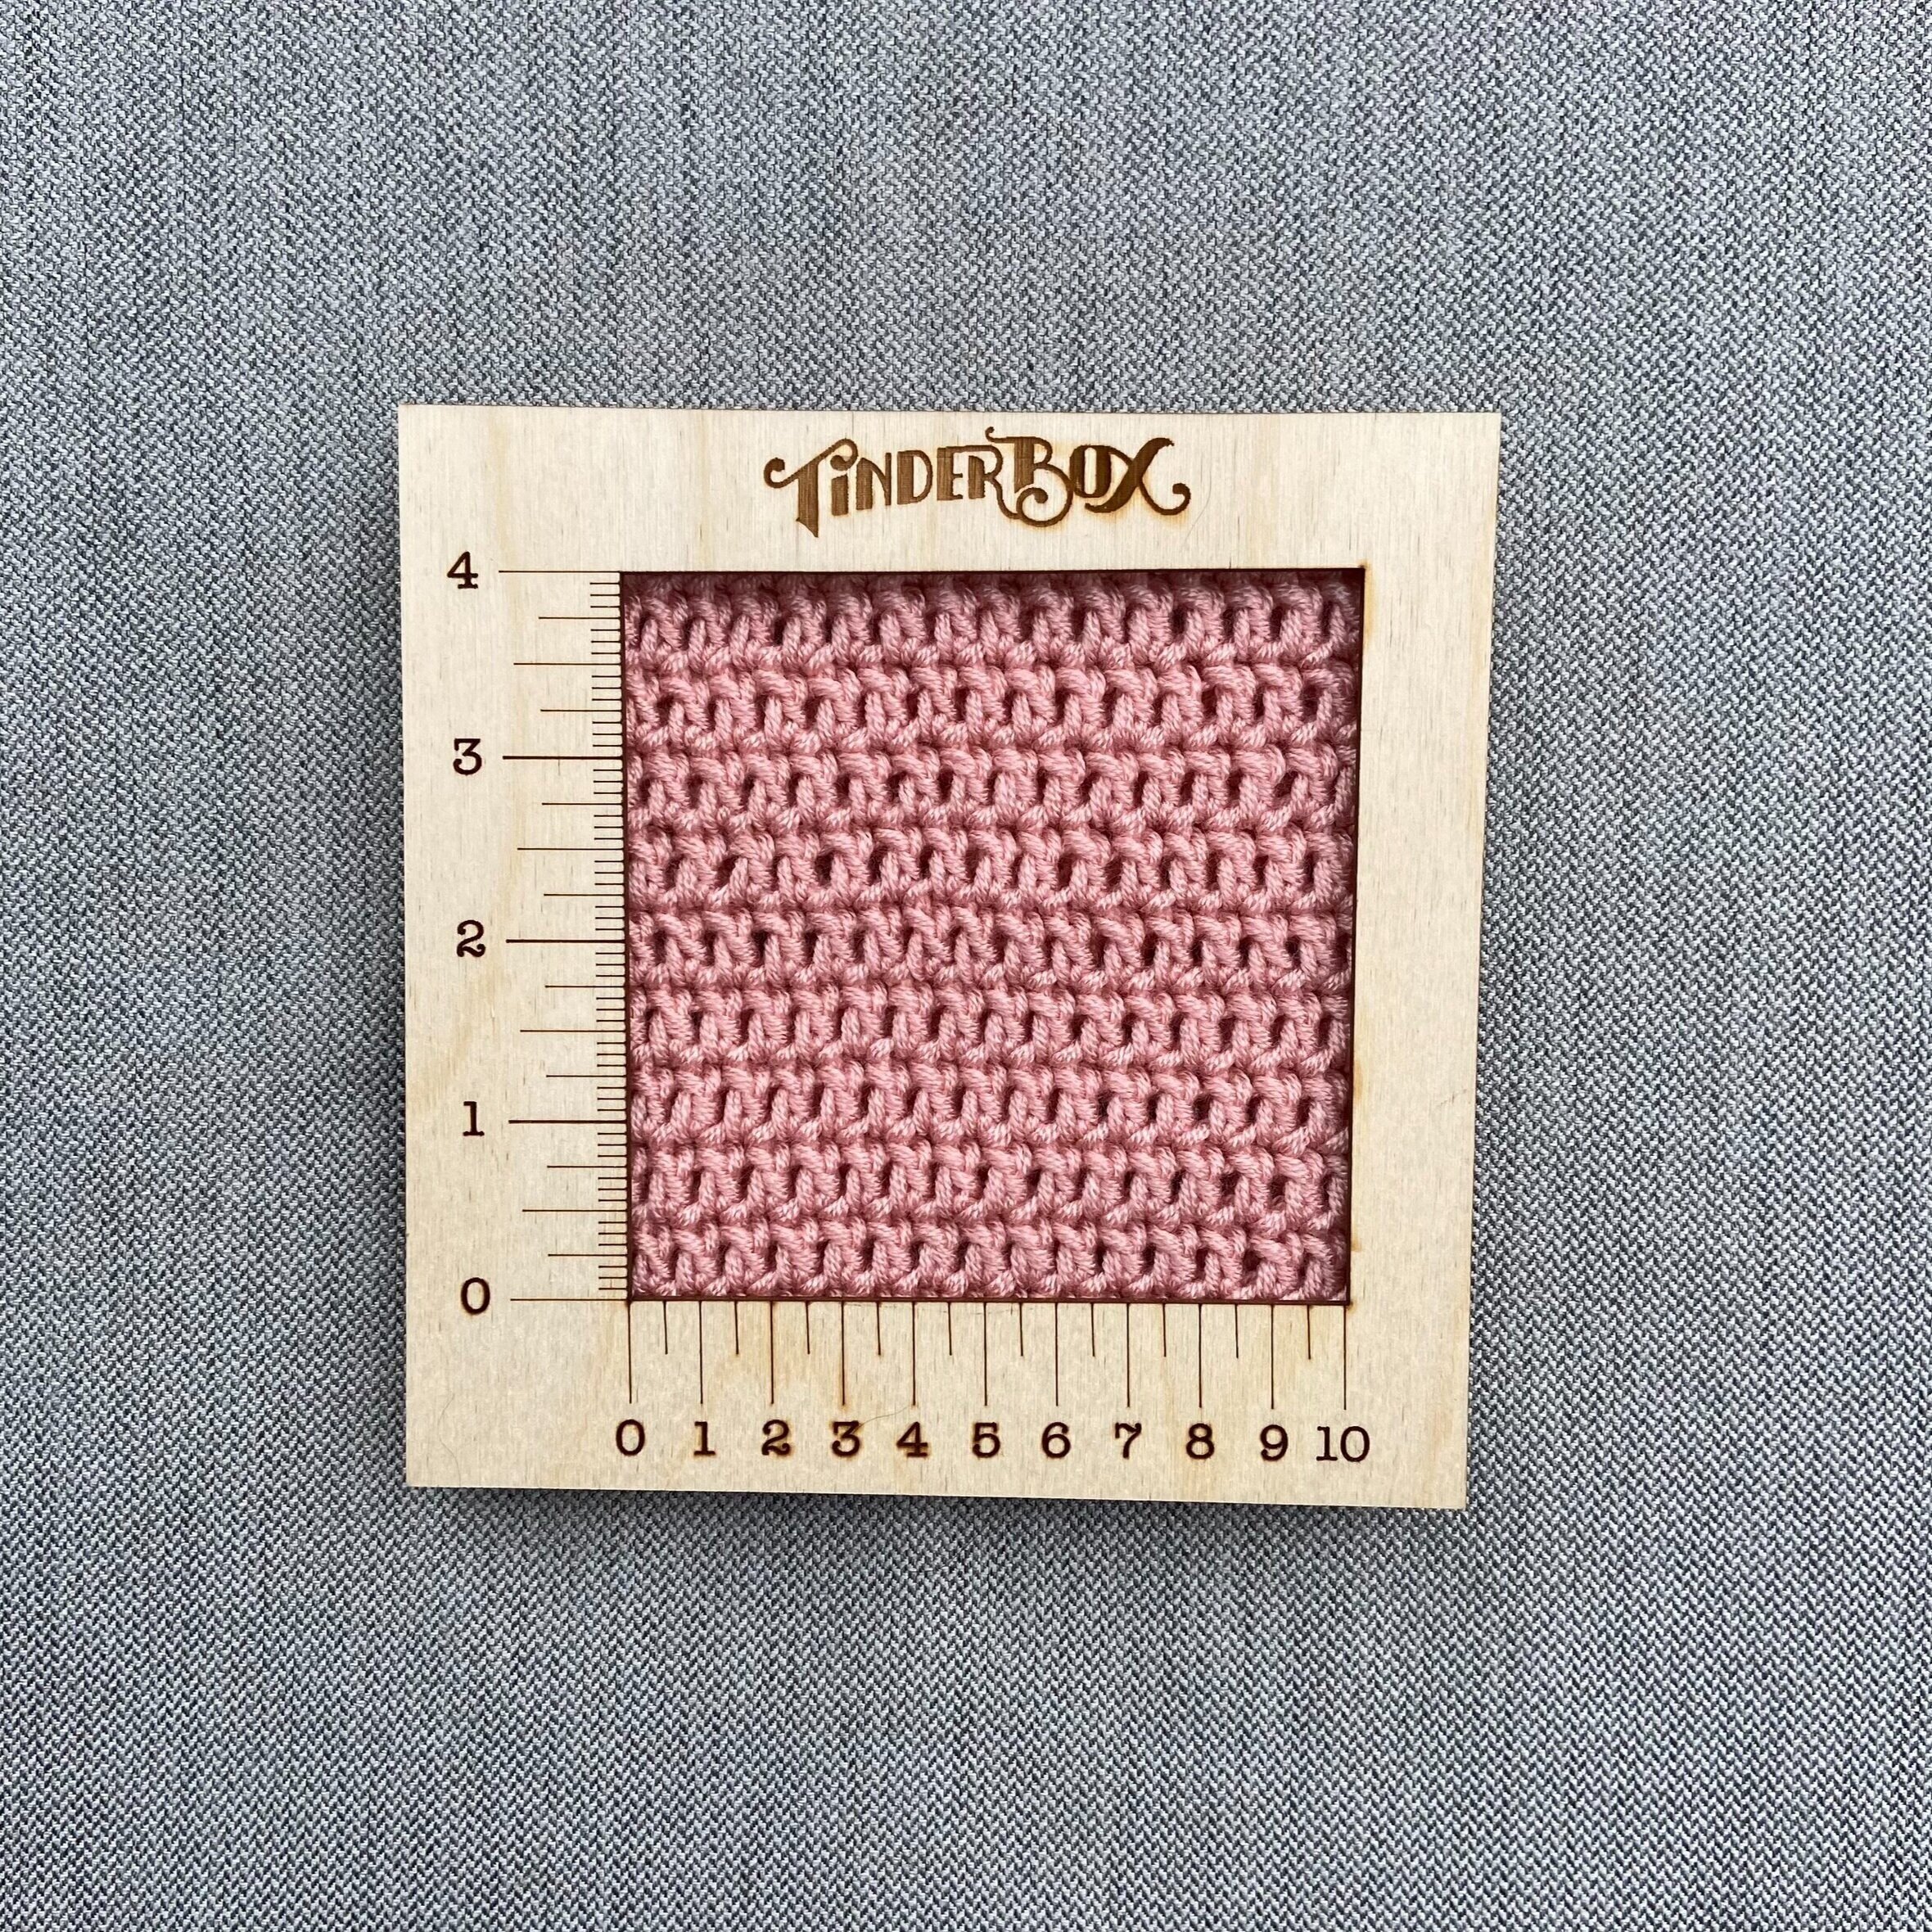
Then it’s time to give your swatch a block (Just do it! Then come back Friday to read why). Using a gauge square or tape measure – measure the centre of your swatch. You will notice that almost all crochet stitches will lean towards the hand you hold your hook with. This is normal. Be sure to measure the height of your rows/rounds straight up and down, not on the diagonal.

And that’s it! Two ways to gauge in the round. It may seem like a lot of work – but it is better to do it right the first time than to have a garment that doesn’t fit! Come back tomorrow to learn how to adjust your gauge if it’s too big or too small!
Check out the other Gauge Week blog posts here:
Day 1: What is “gauge” and why do we do it?
Day 2: How to create a basic flat swatch
Day 3: How to gauge in the round (2 different techniques) (Today)
Day 4: How to adjust your gauge – beyond just changing hooks
Day 5: The importance of blocking your swatches
Happy crocheting,
Courtney
Items used in this blog post (click each for the link):
- Gauge ruler from Muster Pattern
- Furls Streamline Crochet Hook
- The Hook Nook Small Stuff Yarn