Welcome back to Gauge Week!
Today is probably the most important day yet – how to adjust your gauge! This blog post will cover when and how to change your hook and how to adjust when no matter which hook you try either the height or width is off.
I cannot stress enough how important it is to get your gauge as close to the pattern as possible. Each person crochets slightly differently, each yarn works up slightly differently, your tension can change based on your mood, there are just so many factors to consider!
For example:
I used DK weight yarn and a 4.5mm hook to make each of these (unblocked) swatches with the same number of stitches and rows. Each swatch is a different fibre. So even using the same two hands and the same hook is not enough to keep gauge consistent. Tomorrow’s post will go into more detail about how blocking your swatches is important too.

The most common way to adjust gauge is by changing your hook, but it can be confusing as to when and where to change hook size and what hook size to try next. So here is what you need to know:
1. If you have too many stitches in your swatch, your gauge is too tight. This means you need to use a bigger hook. If you gauge is only slightly too small, try going up 0.25 or 0.5 millimetres in hook size. If you’re off by more than 1-2 stitches try moving up 0.75 to 1 millimetre in hook size.
2. Alternatively, if you have too few stitches in your swatch, you gauge is too loose. You will need to use a smaller hook to tighten the gauge up. The same rules apply as above – if your gauge is only slightly too big, adjust your hook by 0.25 or 0.5 millimetres. If you need to fit more than 1-2 more stitches in your swatch, try moving up 0.75 to 1 millimetre in hook size
I made each of these 3 swatches using the same yarn and same style of hook. The smallest one was made with a 3.5 millimetre hook and has a gauge of 19 stitches by 11 rows. With a 4.5 millimetre hook, I obtained a gauge of 15 stitches by 9 rows. And with a 5.5 millimetre hook the gauge was 13 stitches by about 7.5 rows. You can see how going up in hook size causes the number of stitches that fits within a 4 inch square to go down because each stitch is bigger, and going down in hook size causes the number of stitches to go up because each stitch is smaller.
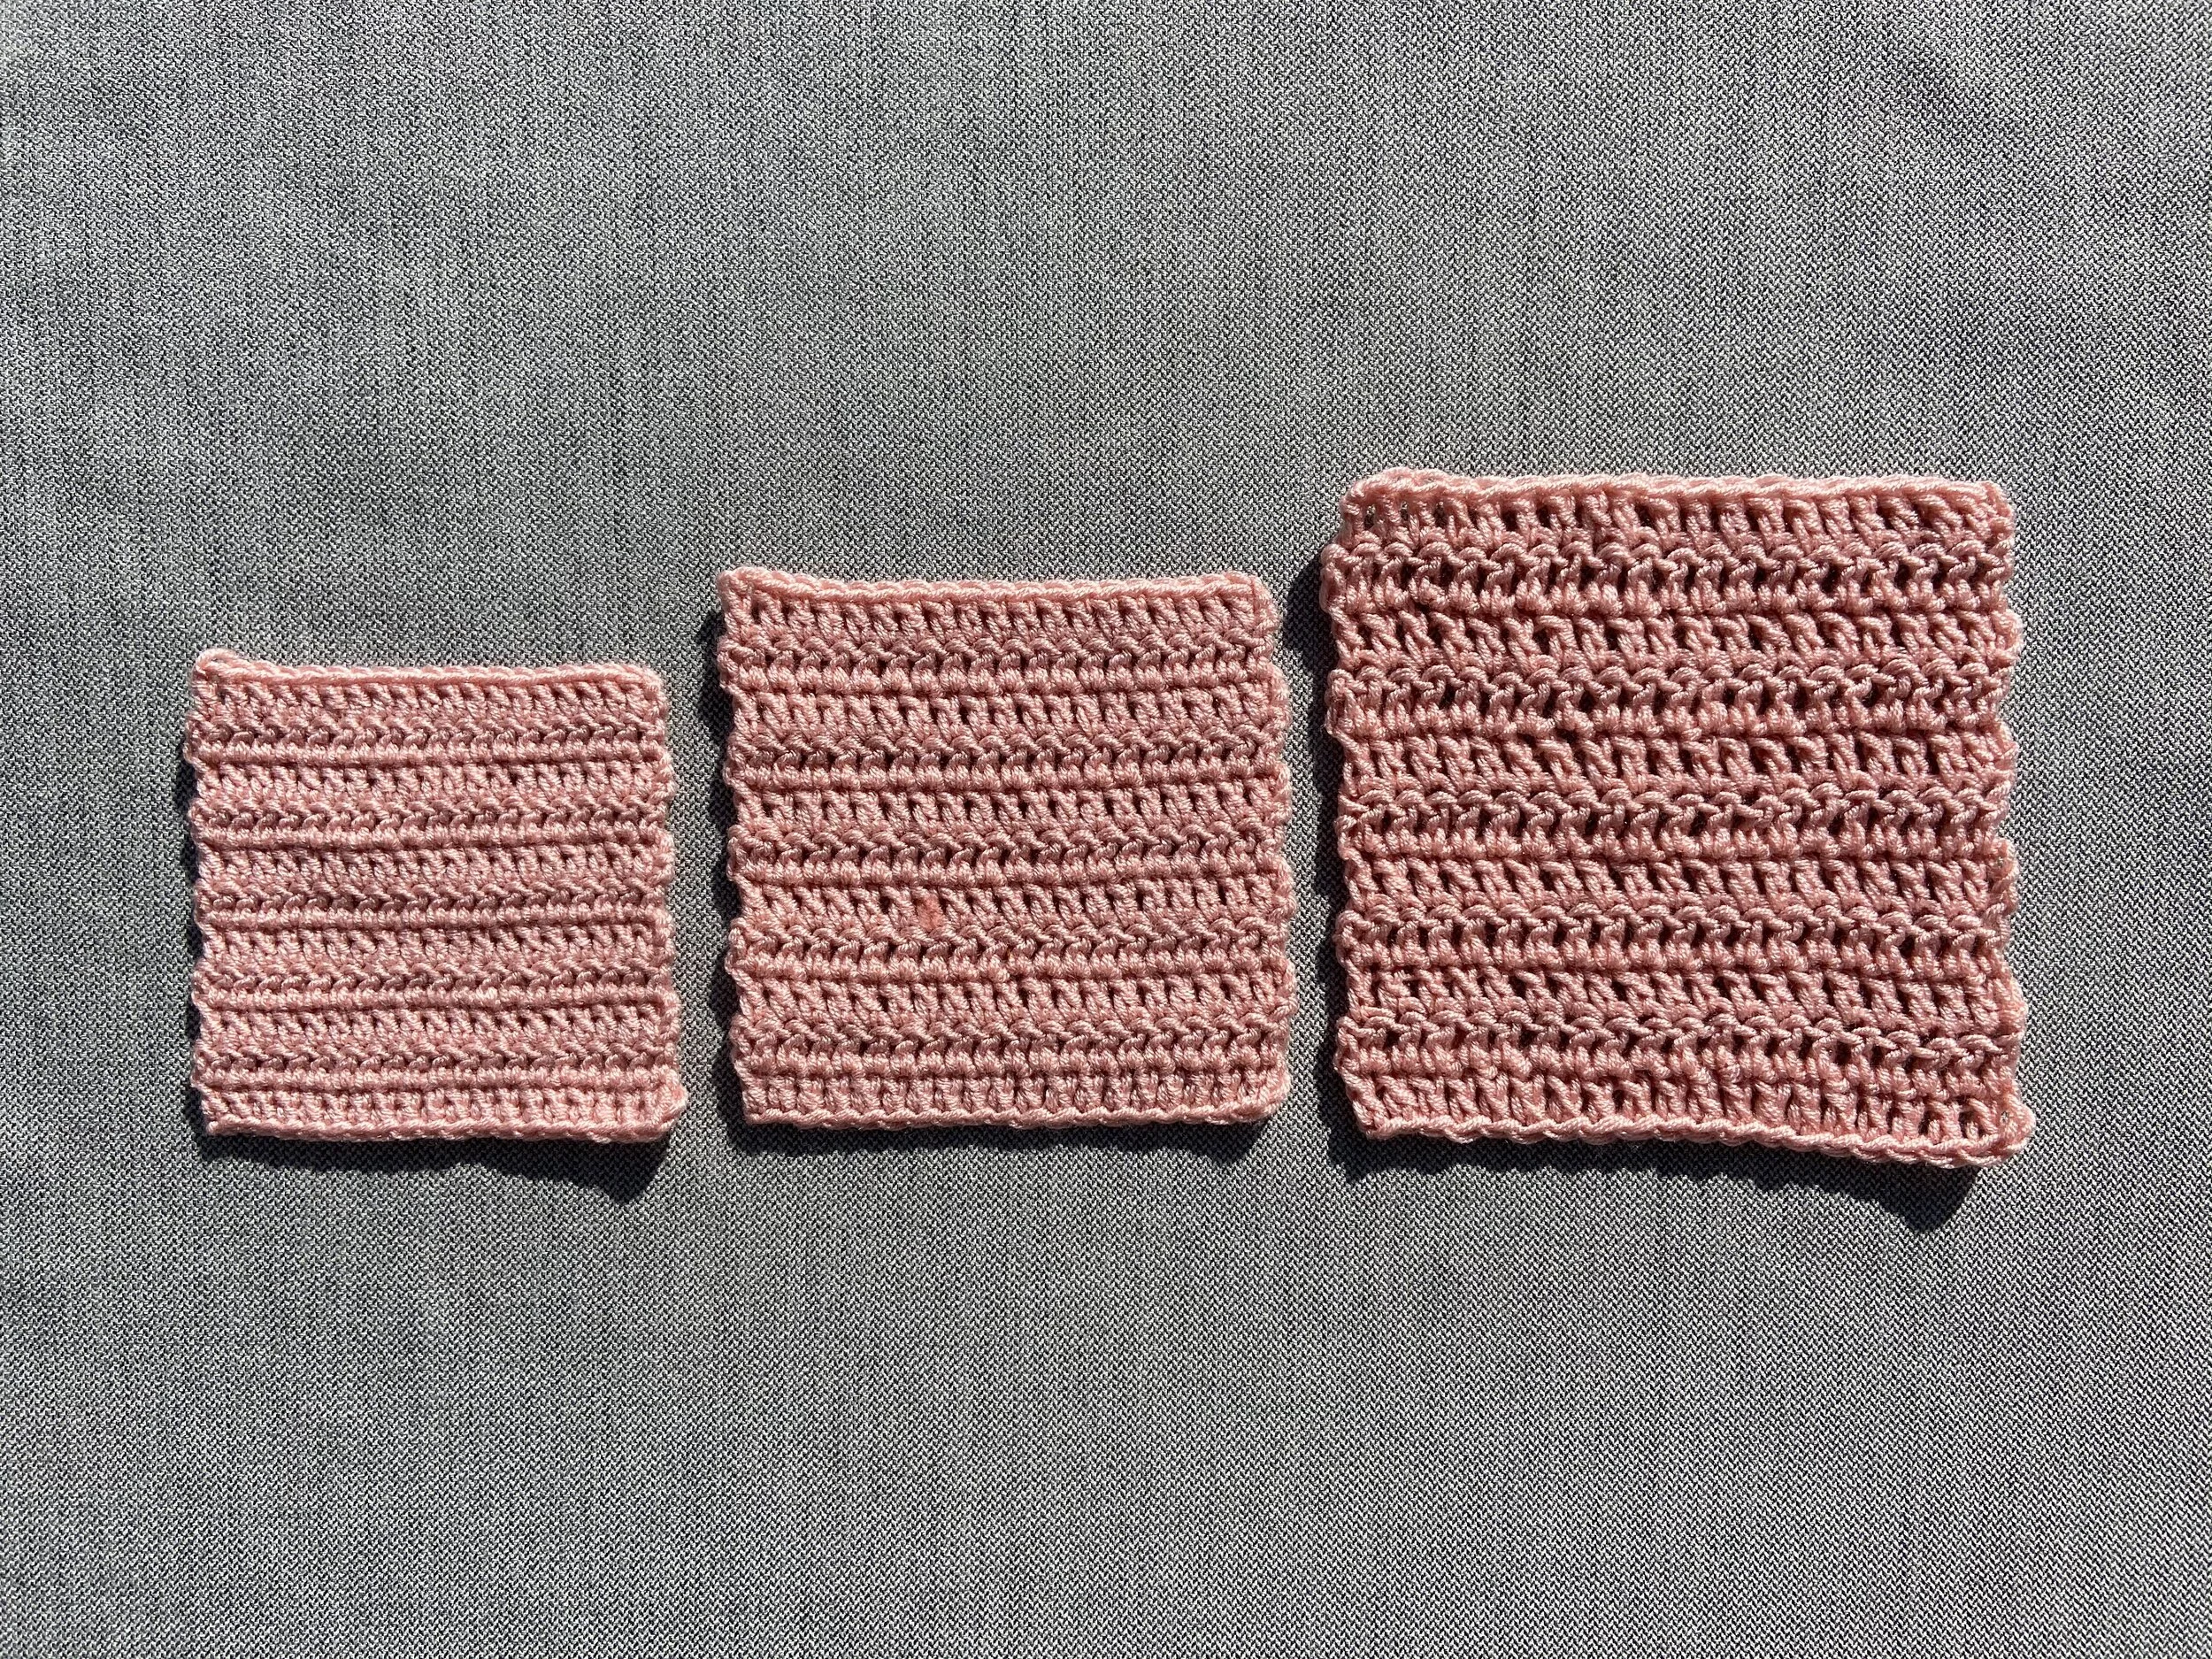
But, what happens if you achieve the proper number of rows (height) but not the right number of stitches (width) or you have the right number of stitches (width) but not the right number of rows (height)?
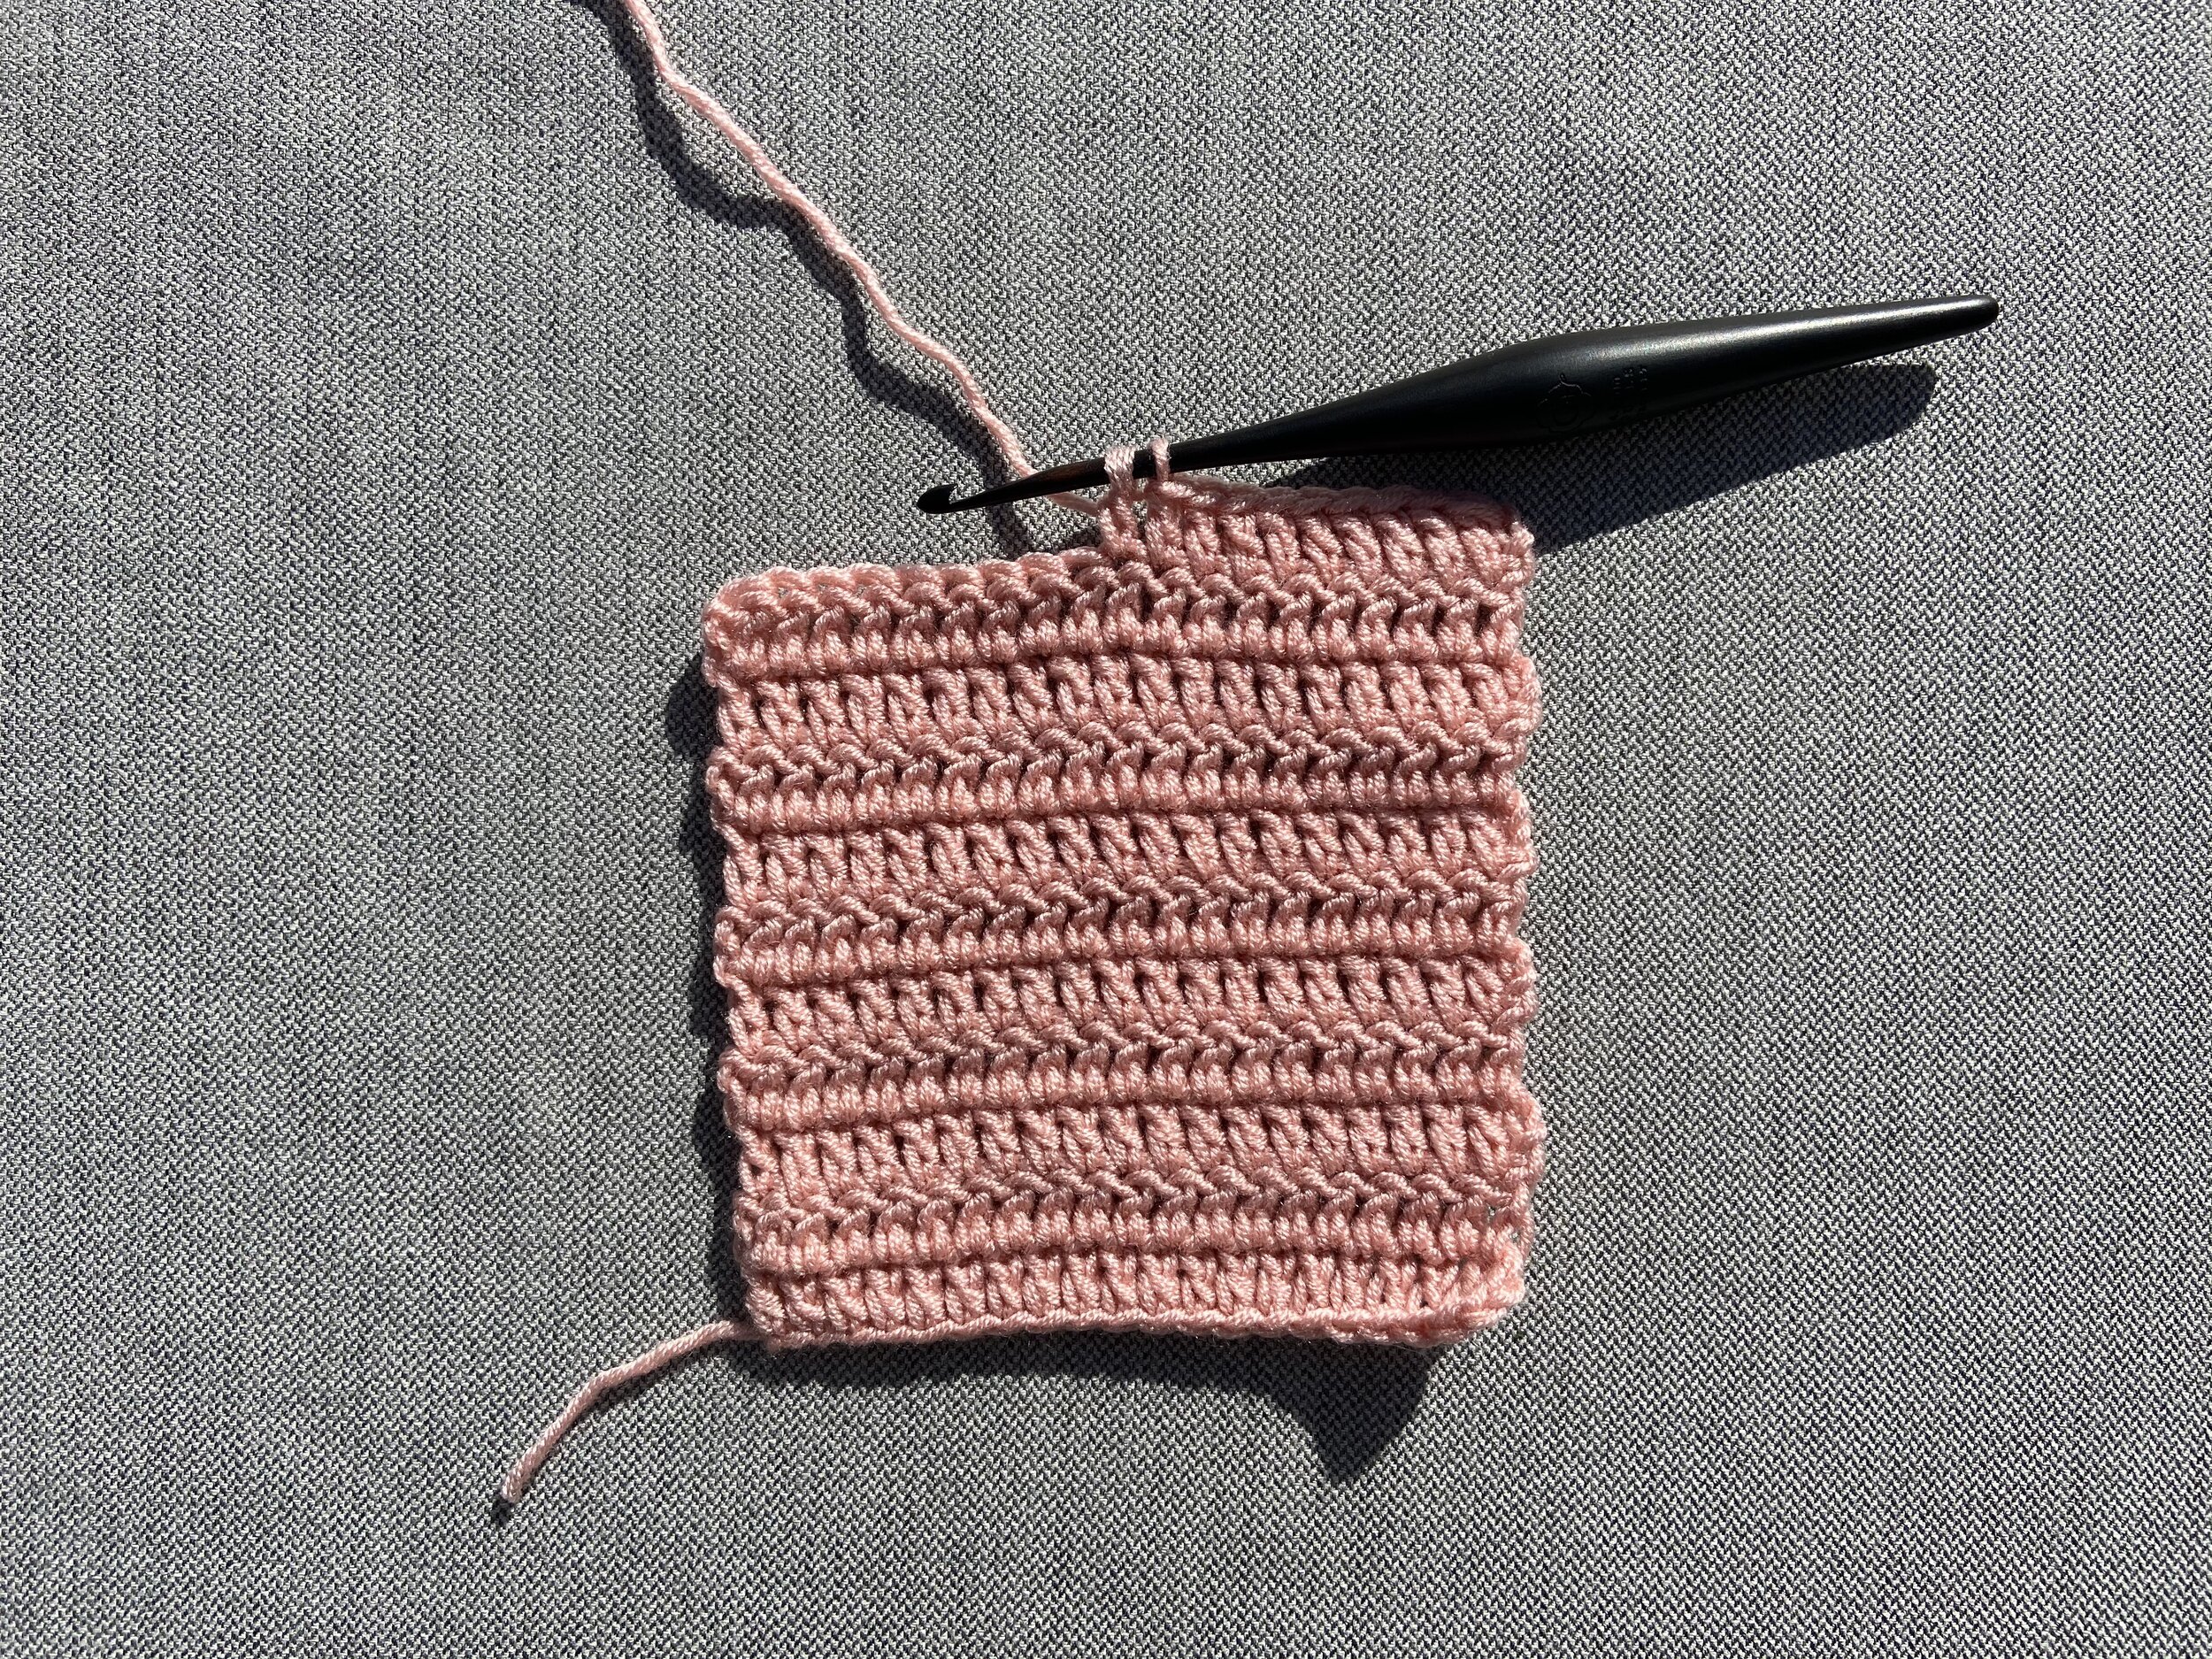
First, you’re going to want to use the hook that gets you the right number of stitches (width) because stitch width is harder to manipulate than stitch height. Then you’re going to manipulate what is called the “Golden Loop”. The Golden Loop is the loop at the bottom of the stitch (the one you pull through the stitch of the previous row/round) and it determines the height of your stitch. The sample images and swatches I made were in the double crochet stitch, but the same loop is considered the Golden Loop of every crochet stitch.

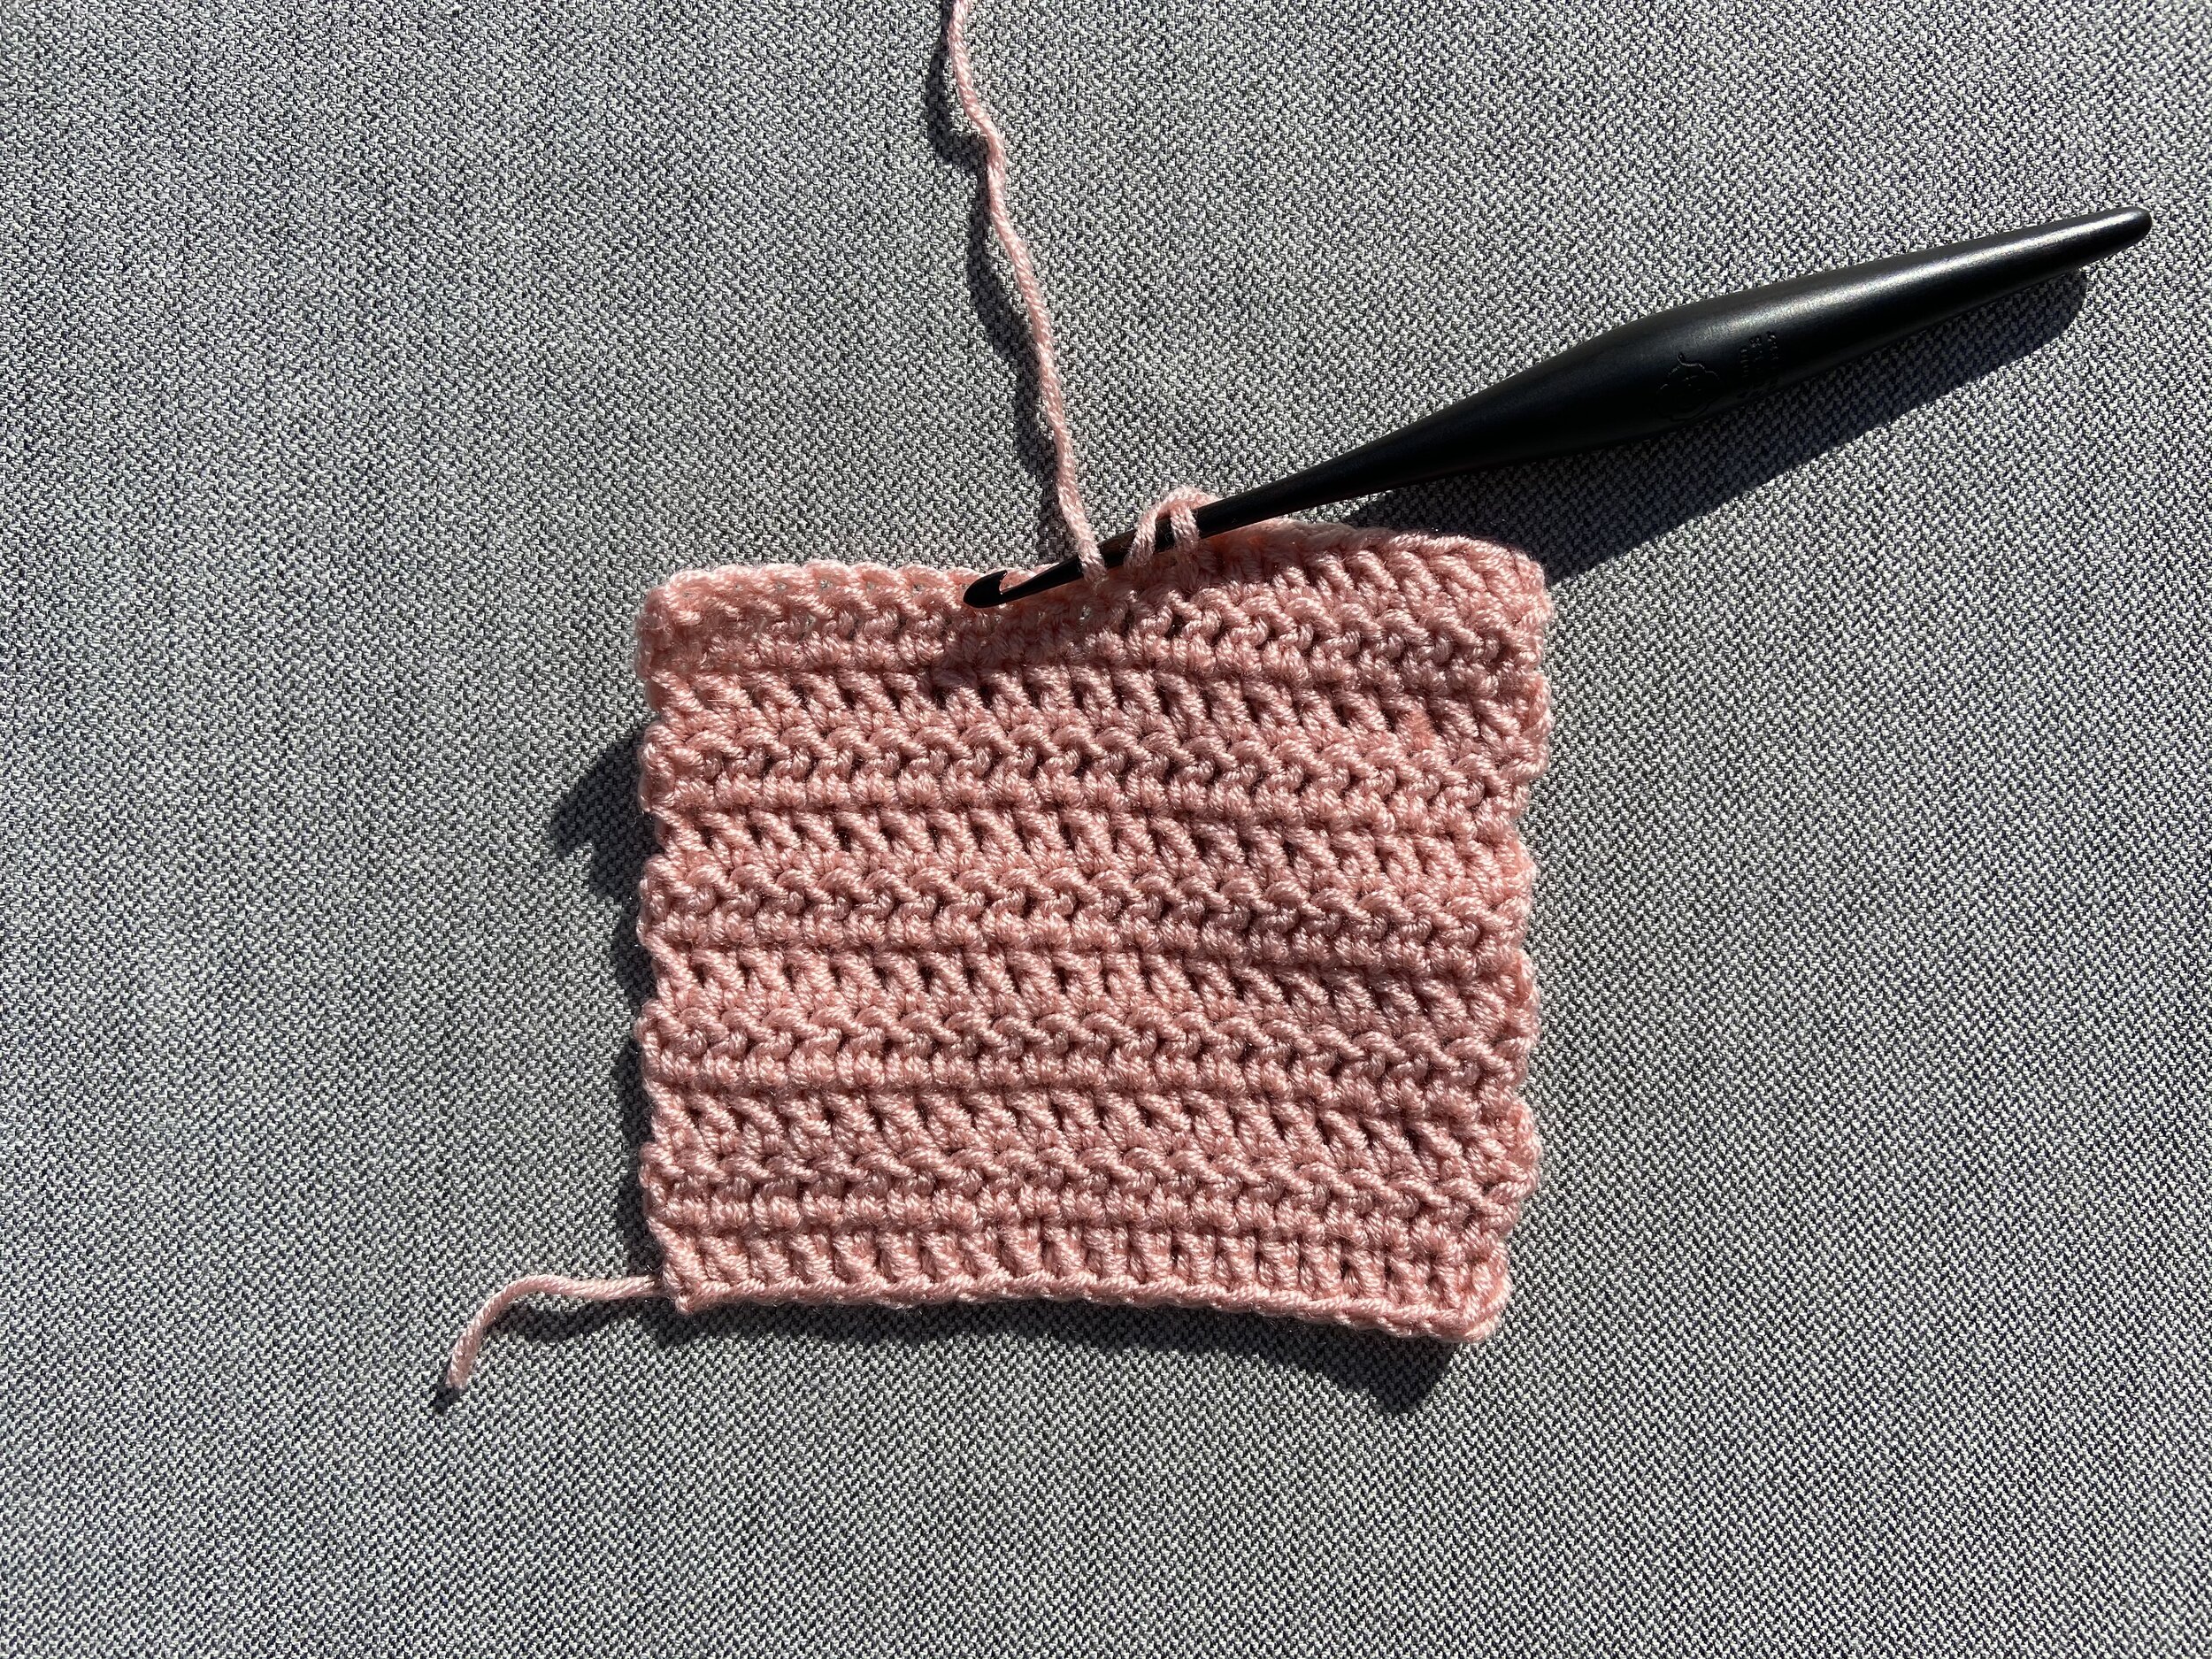
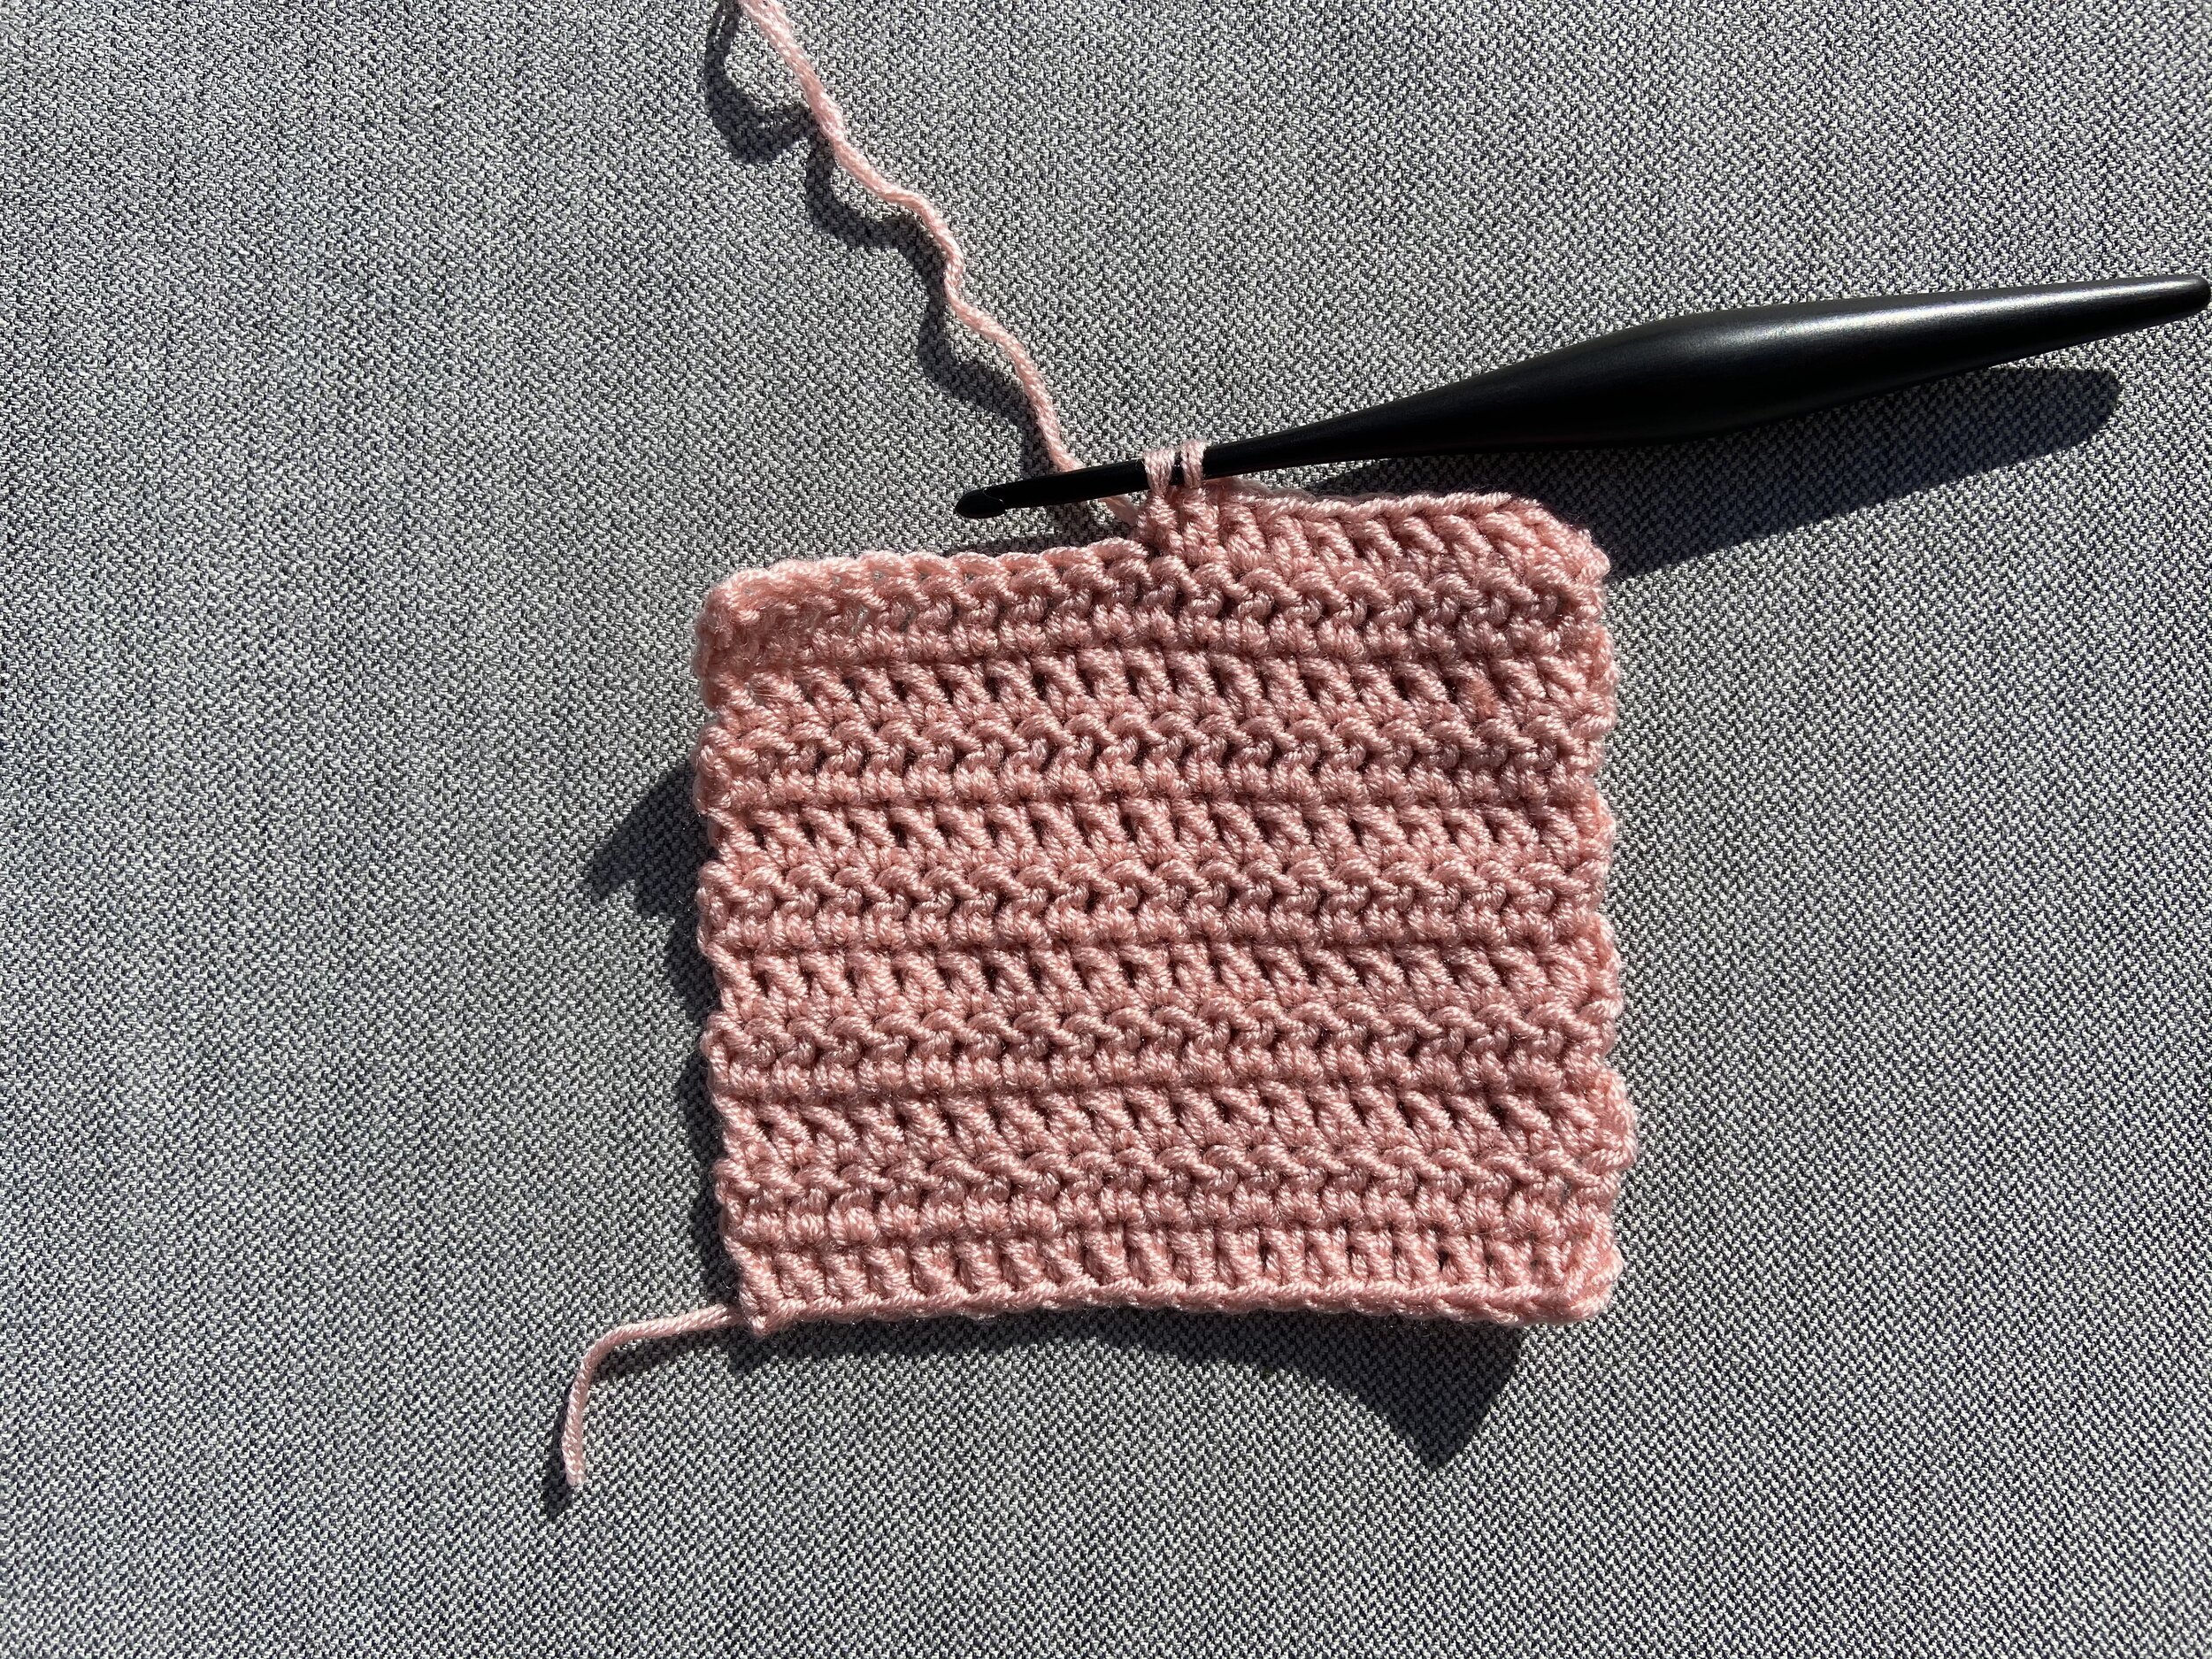
Some people tend to pull the Golden Loop tight/down – either by where they hold their yarn or how they tension it, which can shorten stitches. Others may tend to pull up/loosen the Golden Loop, which will cause the stitches to grow taller. Fascinatingly, changing how far you pull up the Golden Loop does not affect the width of the stitches at all.
So, let’s say you’re aiming, like me, to get a swatch that is 15 stitches by 9 rows. With a 4.5 millimetre hook you got 15 stitches wide but only 8 rows tall. This means you need to shorten your Golden Loop by pulling it slightly tighter on each stitch. Or if you’ve achieved 15 stitches by 10 rows then your stitches are too short and you need to lengthen the Golden Loop.
These 3 swatches demonstrate the above example – each was made with a 4.5mm hook, each is the same width, but they are different heights because I manipulated the Golden Loop tighter to achieve the gauge on the left, and pulled the Golden Loop up higher to achieve the gauge on the right.
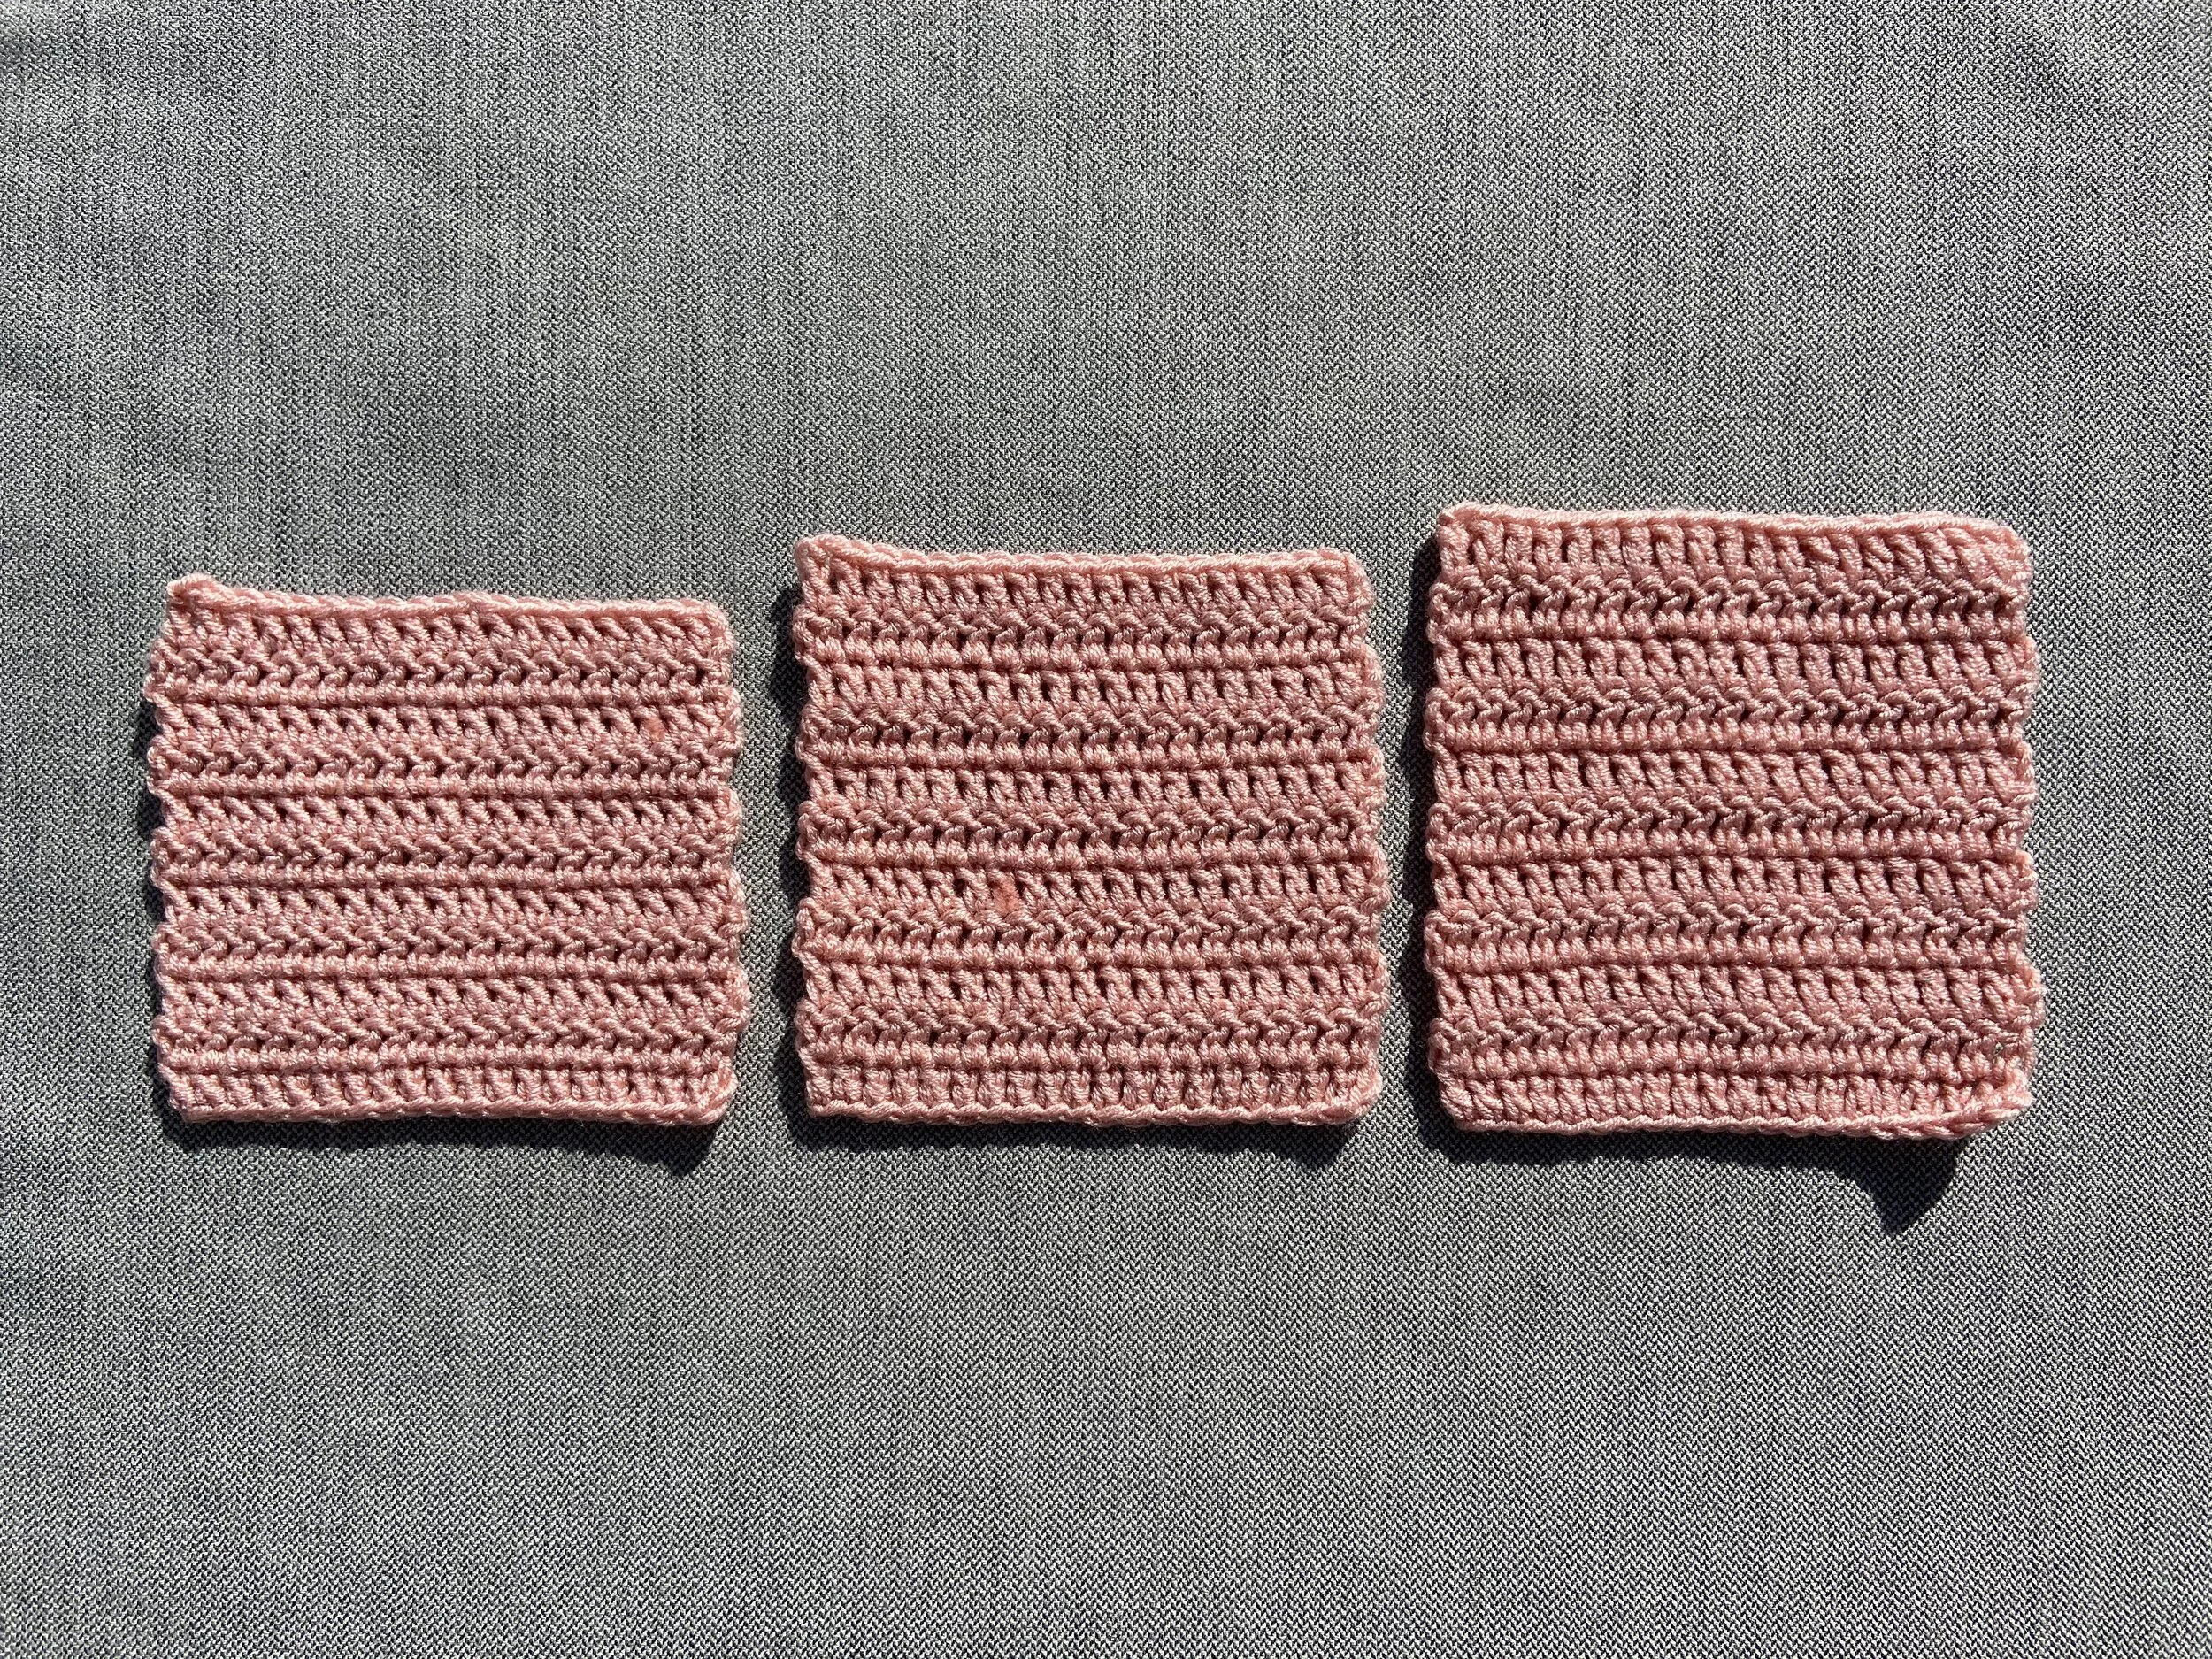
So the rule is: If you have too few rows, shorten the Golden Loop; If you have too many rows, lengthen the Golden Loop.
And that is it! That is how you adjust your gauge – this applies to all yarn weights and fibre types. Each will act slightly differently, but you always use the above methods to achieve proper gauge.
Come back tomorrow to learn about how and why to block your crochet swatches!
Check out the other Gauge Week blog posts here:
Day 1: What is “gauge” and why do we do it?
Day 2: How to create a basic flat swatch
Day 3: How to gauge in the round (2 different techniques)
Day 4: How to adjust your gauge – beyond just changing hooks (Today)
Day 5: The importance of blocking your swatches
Happy crocheting,
Courtney
Items used in this blog post (click each for the link):
- Gauge ruler from Muster Pattern
- Furls Streamline Crochet Hook
- The Hook Nook Small Stuff Yarn