
Welcome to Gauge Week!
I know you didn’t think a whole week of gauge content and learning was possible – but let me tell you IT IS! Gauge is arguably the most important thing in crochet and knitting and it is too often neglected or downplayed by makers and designers.
The reason I found myself compelled to create this mini-series is because gauge related questions and problems make up around 50% of the DMs and emails I get for pattern support. It is clear the crochet community is feeling uncertain about gauge and I am here to demystify it and explain just why it is so important.

Here is the plan for the week:
Day 1: What is “gauge” and why do we do it?
Day 2: How to create a basic flat swatch
Day 3: How to gauge in the round (2 different techniques)
Day 4: How to adjust your gauge – beyond just changing hooks
Day 5: The importance of blocking your swatches
Throughout the week I will also be asking for your gauge horror stories on Instagram – spam me with your stories, photos and mishaps! I’ll be sharing as many as I can.
Without further ado – let’s kick this week off with the basics!

Day 1: What is “Gauge” and Why Do We Do It?
Very basically, gauge is the size of our stitches. Every single person crochets slightly differently than the next – we hold our hooks differently, we tension our yarn differently, we sit differently while crocheting – the smallest things can affect gauge in a big way! The type of fibre or yarn we use to make something can also affect the size of our stitches – acrylic, wool, alpaca, cotton, superwash, bamboo – they all hold onto stitches differently. But don’t let that scare you! You are always welcome to use a different fibre than the designer – you just need to swatch in your chosen fibre.
While it would be lovely to be able to tell from one stitch if our gauge is correct, we cannot. Generally, a gauge swatch is a 4 x 4 inch (10 x 10 centimetre) piece of fabric you create to ensure your stitches are the same size as the designer. This size allows any differences in stitch height or width to become more apparent and allow us to adjust. Swatches can be done flat (more on this tomorrow) or in the round (this info coming Wednesday).
Why Do We Gauge? What Could Go Wrong?
If your stitches are bigger than the designers, even by a little bit, you will end up with a finished piece that is too big. If your stitches are smaller, then your finished piece will be too small. While this might be okay for a scarf or a blanket, for a hat or a sweater we want our sizing to be as accurate as possible.
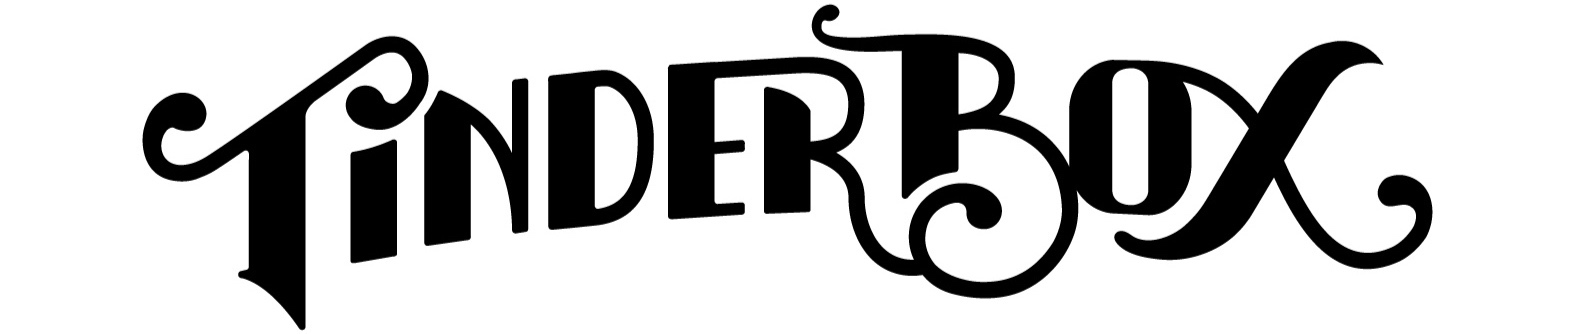
For example, say the designer states the pattern gauge is 10 stitches by 10 rows in a 4 x 4 inch blocked swatch. Sally decides that her 9 stitch by 9 row swatch is “close enough” and proceeds to make herself her sweater. Sally has a 46 inch bust and the sweater is designed with 4 inches of positive ease (ease = how many extra inches of fabric there is on top of your bust size). So Sally’s sweater should be 50 inches around her bust with accurate gauge. If Sally makes the sweater with her 9 stitch by 9 row swatch she will end up with a sweater that is almost 56 inches around the bust, adding over 5 extra inches of ease than she wanted! Uh oh Sally!
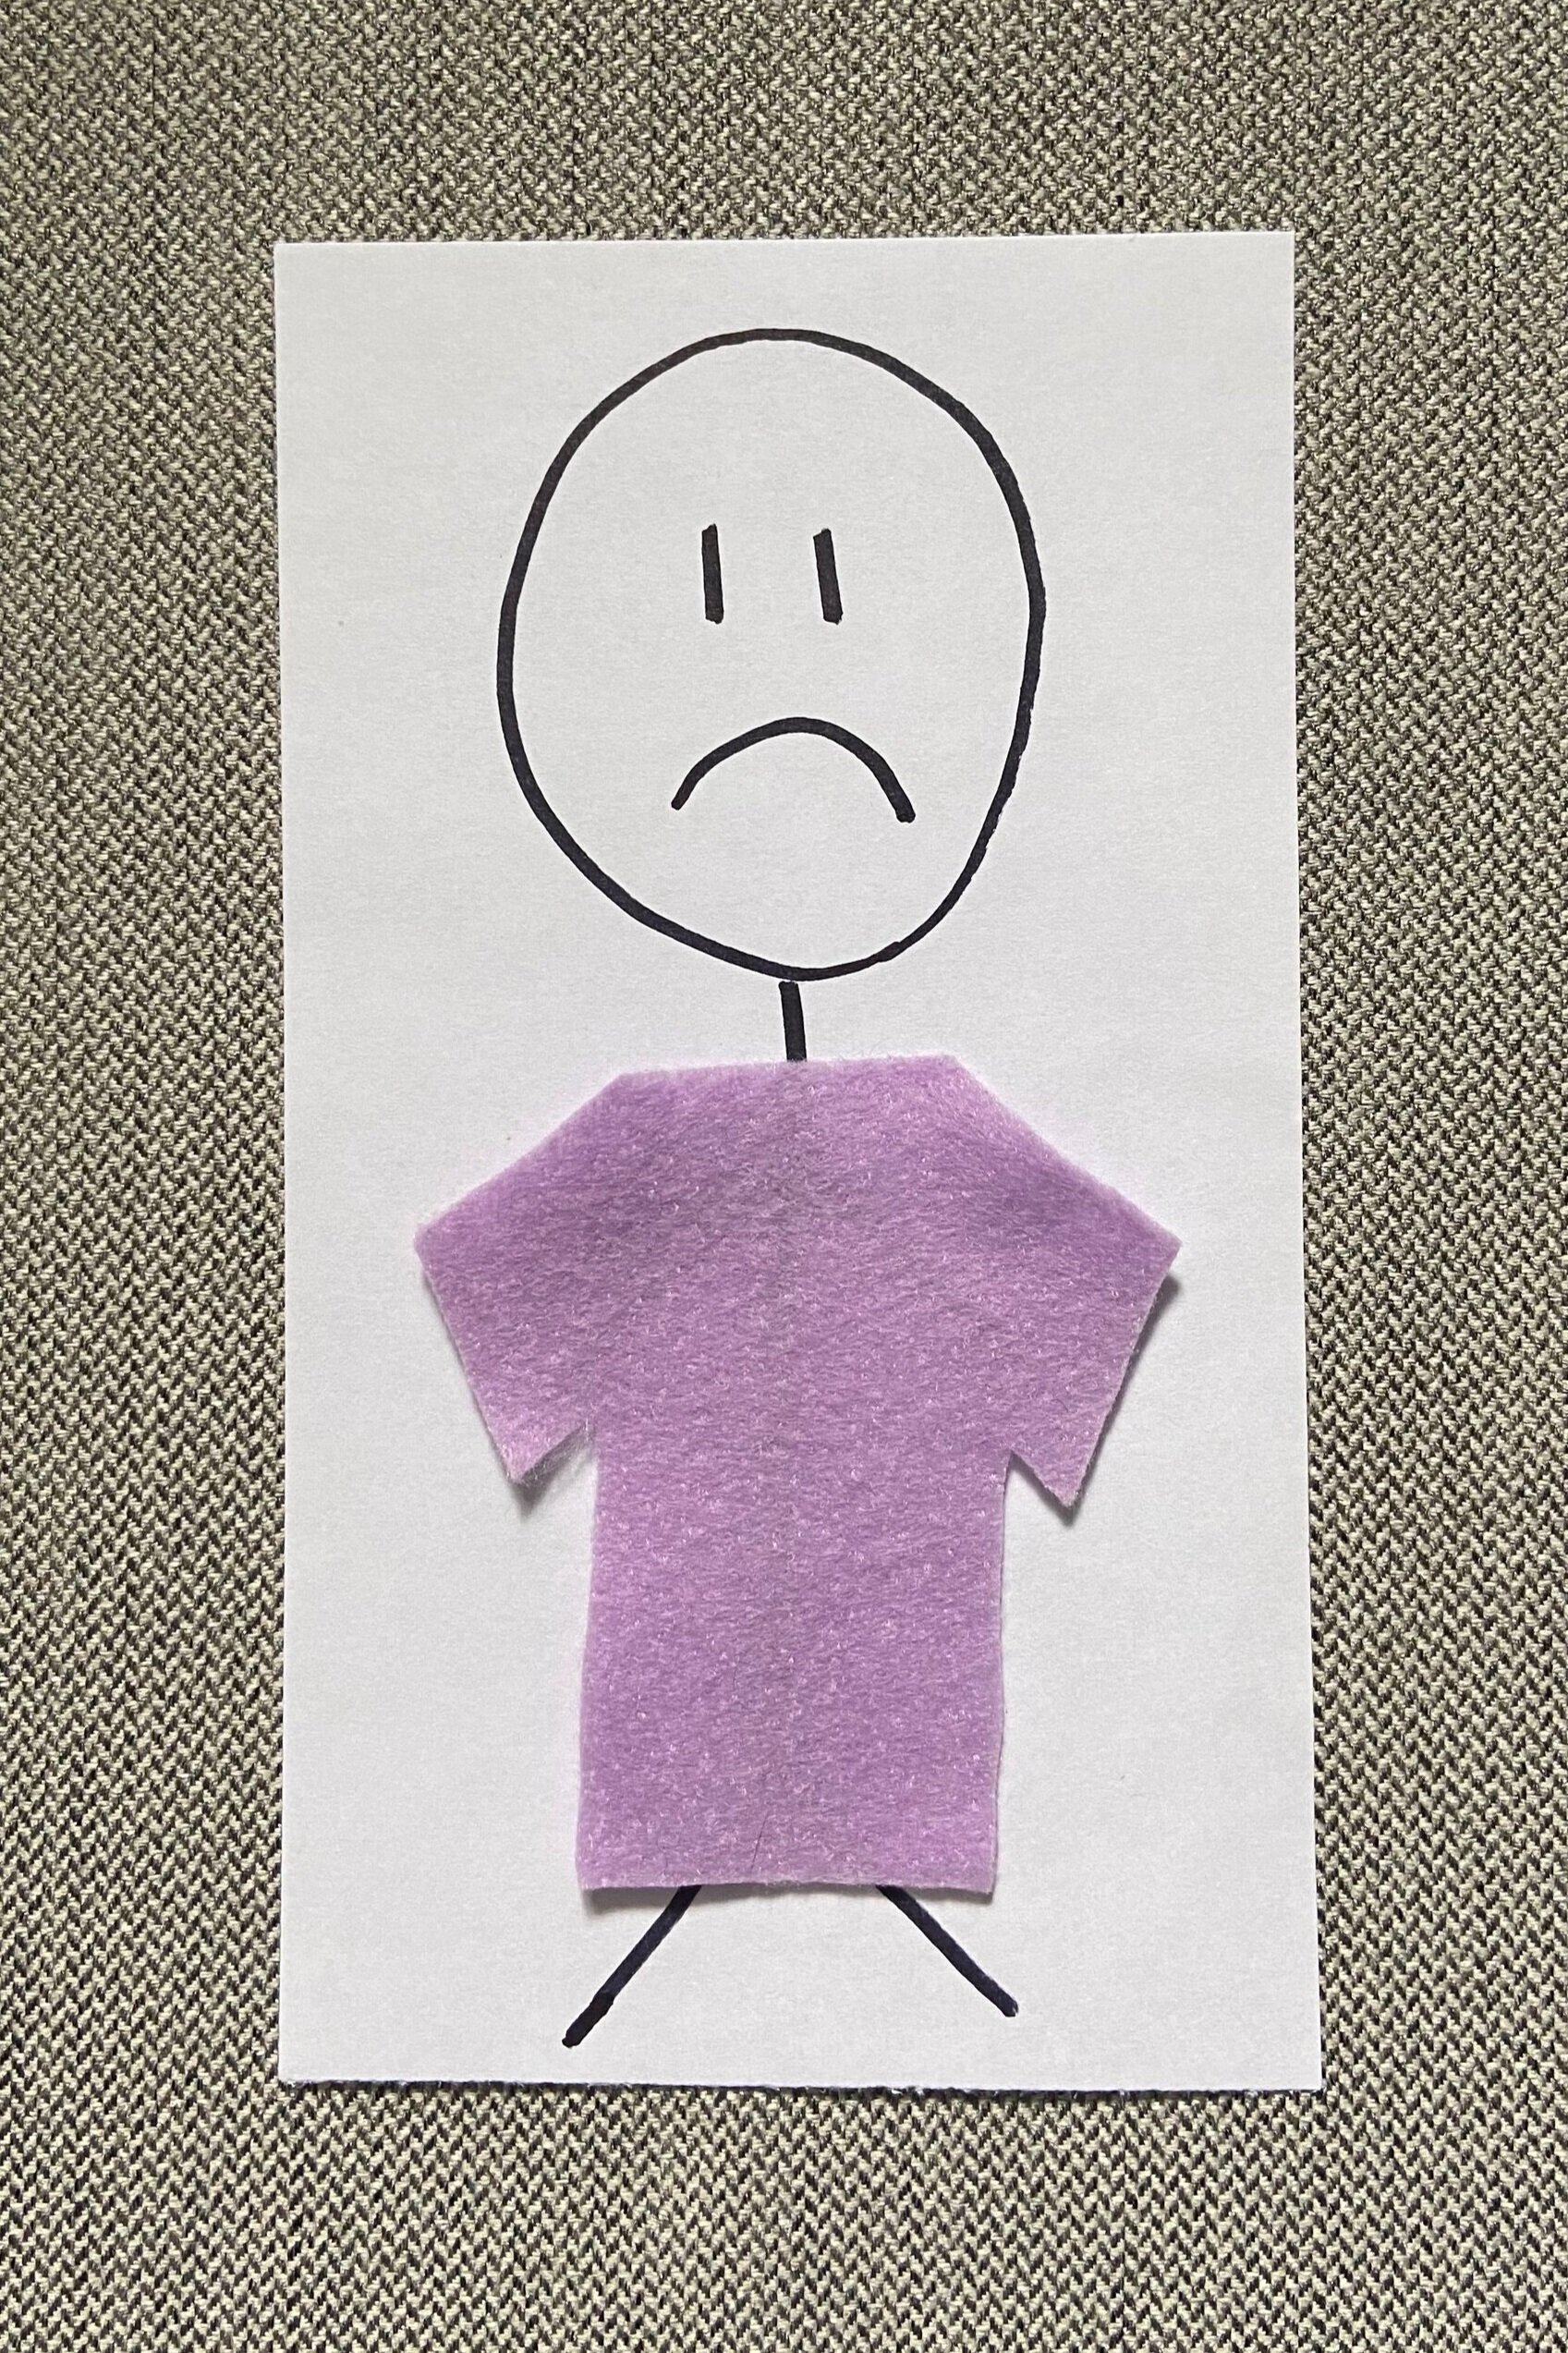
Sarah, also a 46 inch bust, is making the same sweater as Sally and her gauge is 11 stitches by 11 rows. If she does not adjust her gauge her finished sweater will only measure 45.5 inches, meaning it will be fitted when she was really hoping for 4 inches of ease. Don’t be like Sally or Sarah – make a gauge swatch and get it as close as possible to the gauge in the pattern.

That’s it! That’s day 1 of Gauge Week!
Today’s lessons:
1. What is Gauge
2. Why to Gauge
Come back tomorrow, and tune into my reels series on Instagram to learn how to gauge, how to adjust your gauge, and why you should always block your swatches!
Check out the other Gauge Week blog posts here:
Day 1: What is “gauge” and why do we do it? (Today)
Day 2: How to create a basic flat swatch
Day 3: How to gauge in the round (2 different techniques)
Day 4: How to adjust your gauge – beyond just changing hooks
Day 5: The importance of blocking your swatches
Happy crocheting friends,
Courtney
Items used in this blog post (click each for the link):
- Gauge ruler from Muster Pattern
- Furls Streamline Crochet Hook
- The Hook Nook Small Stuff Yarn